
Deadline for entries is the 31st July.
Prize – £75 total voucher for Brandon Bespoke Oils & Waxes. Brandon Bespoke Oils & Waxes will kindly add £25 to the £50 AWGB voucher.
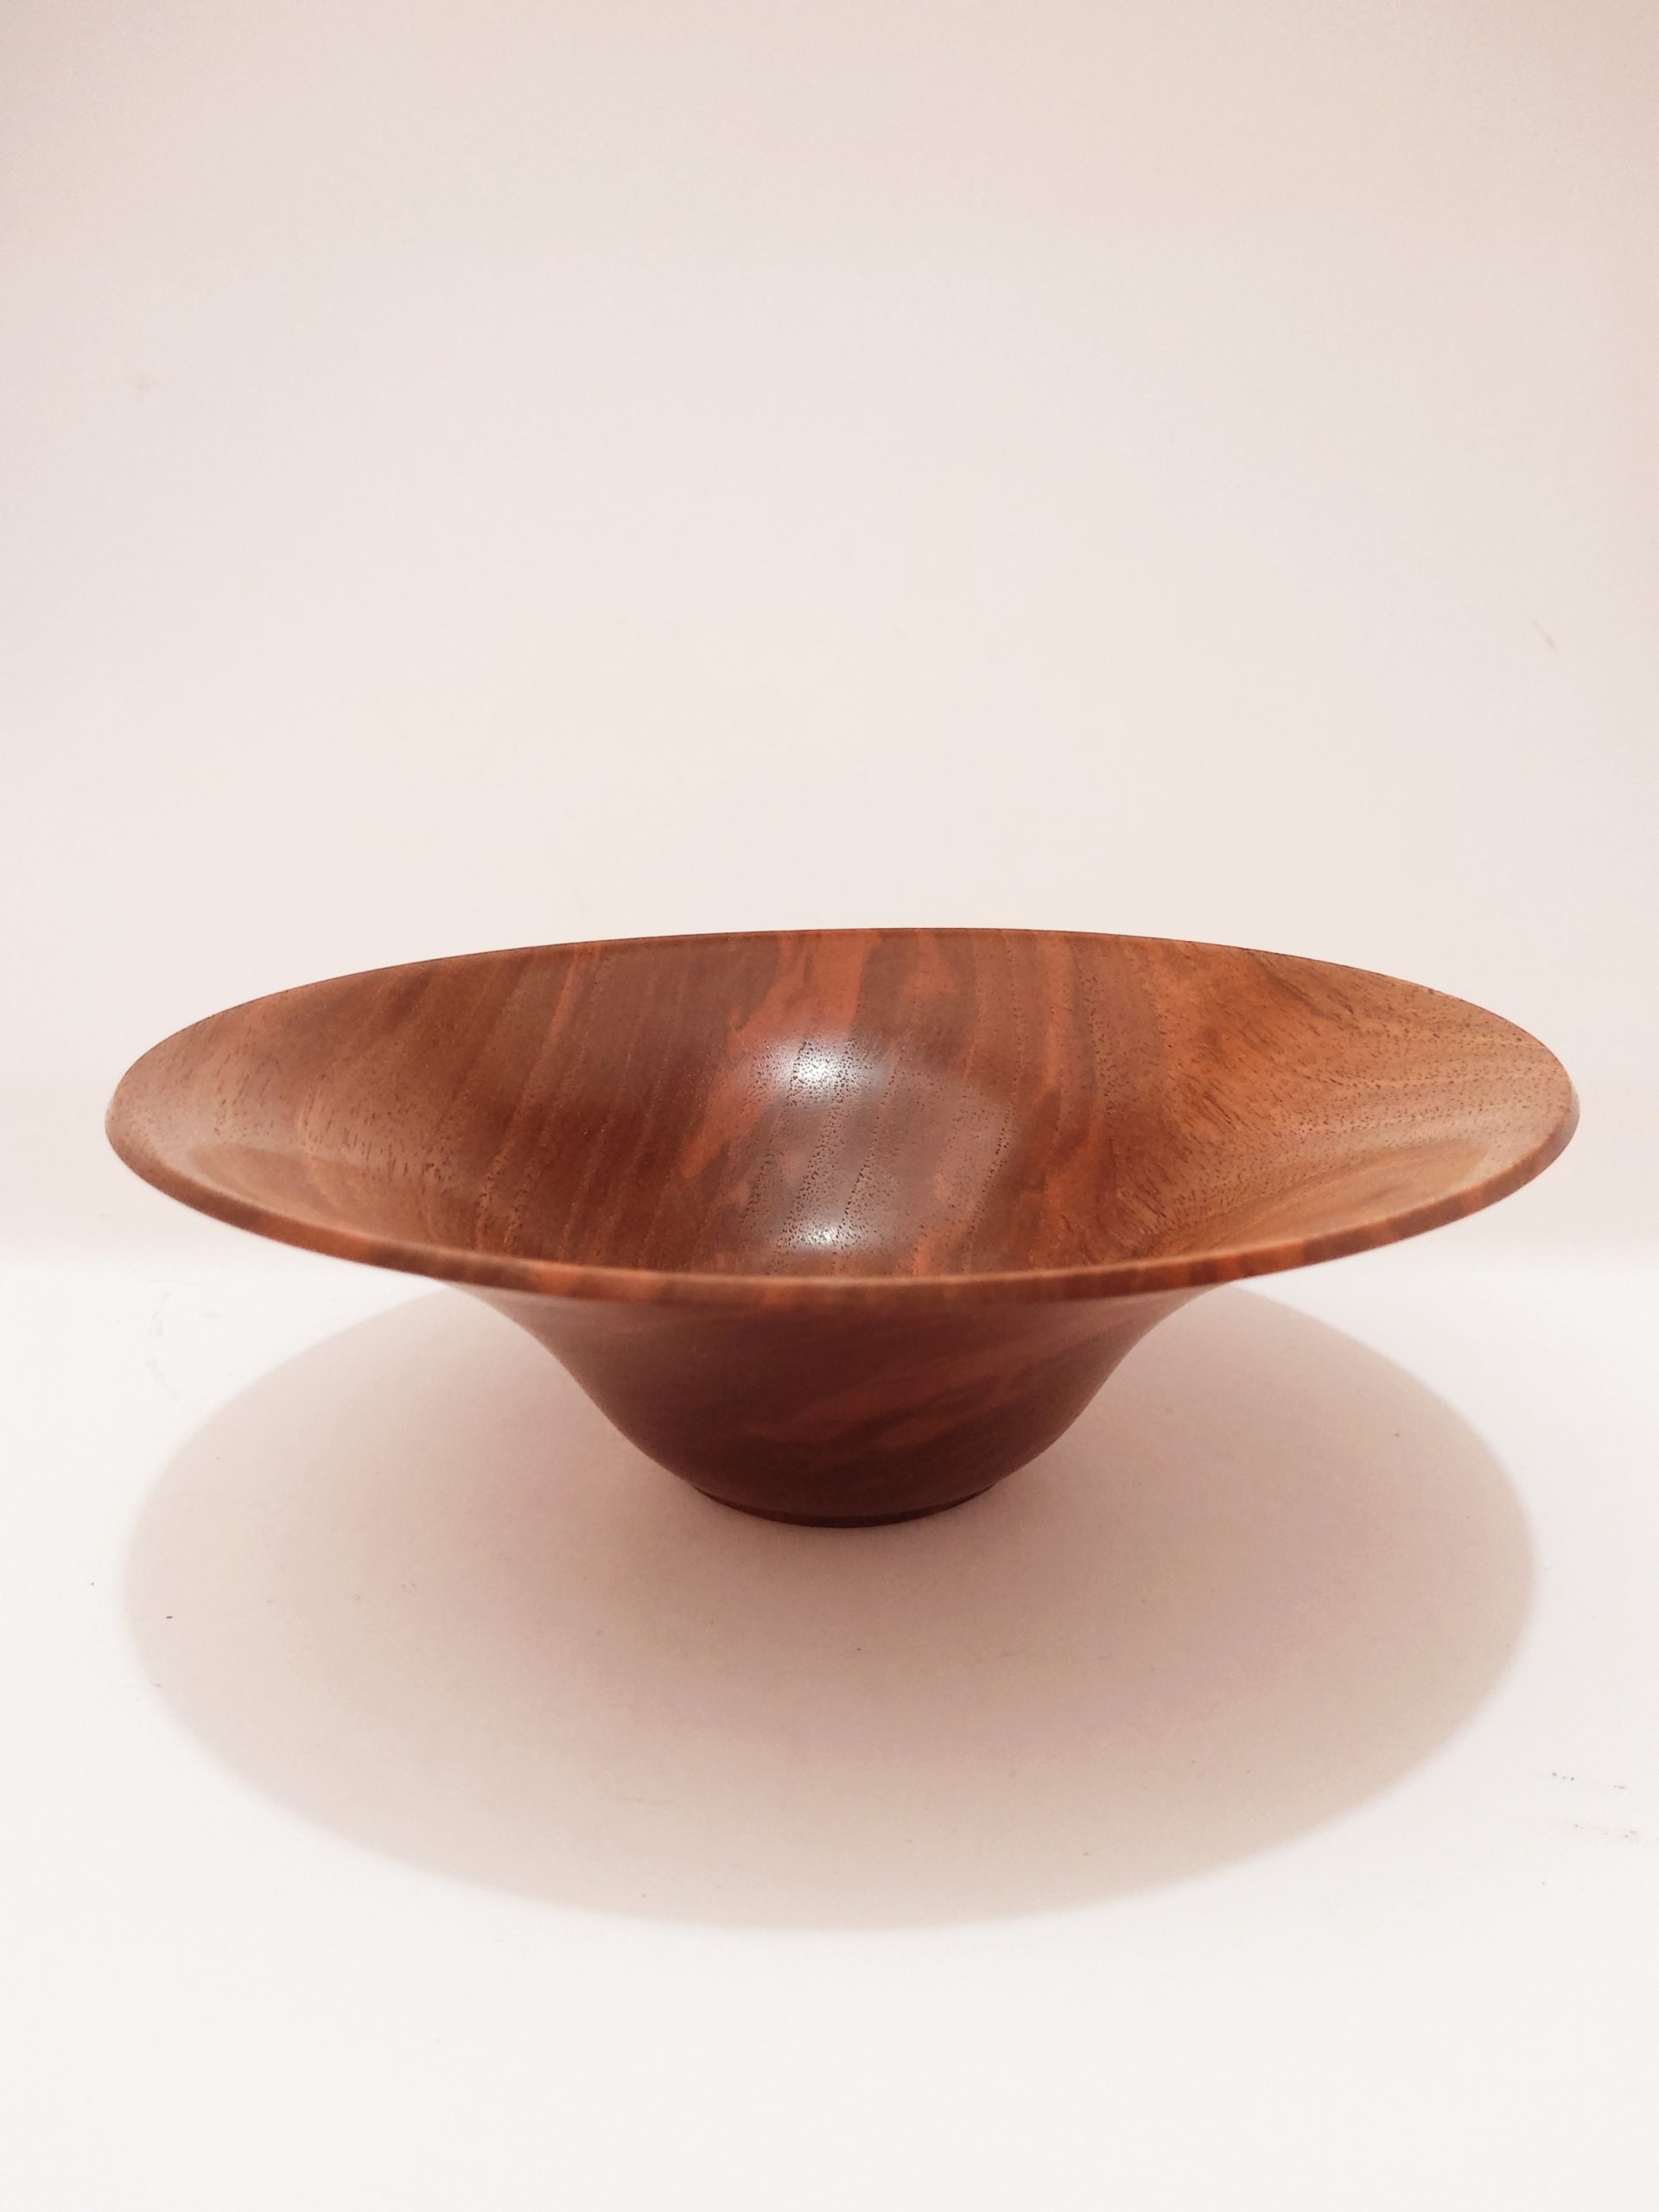
Winner – Roger Groom

John McNay
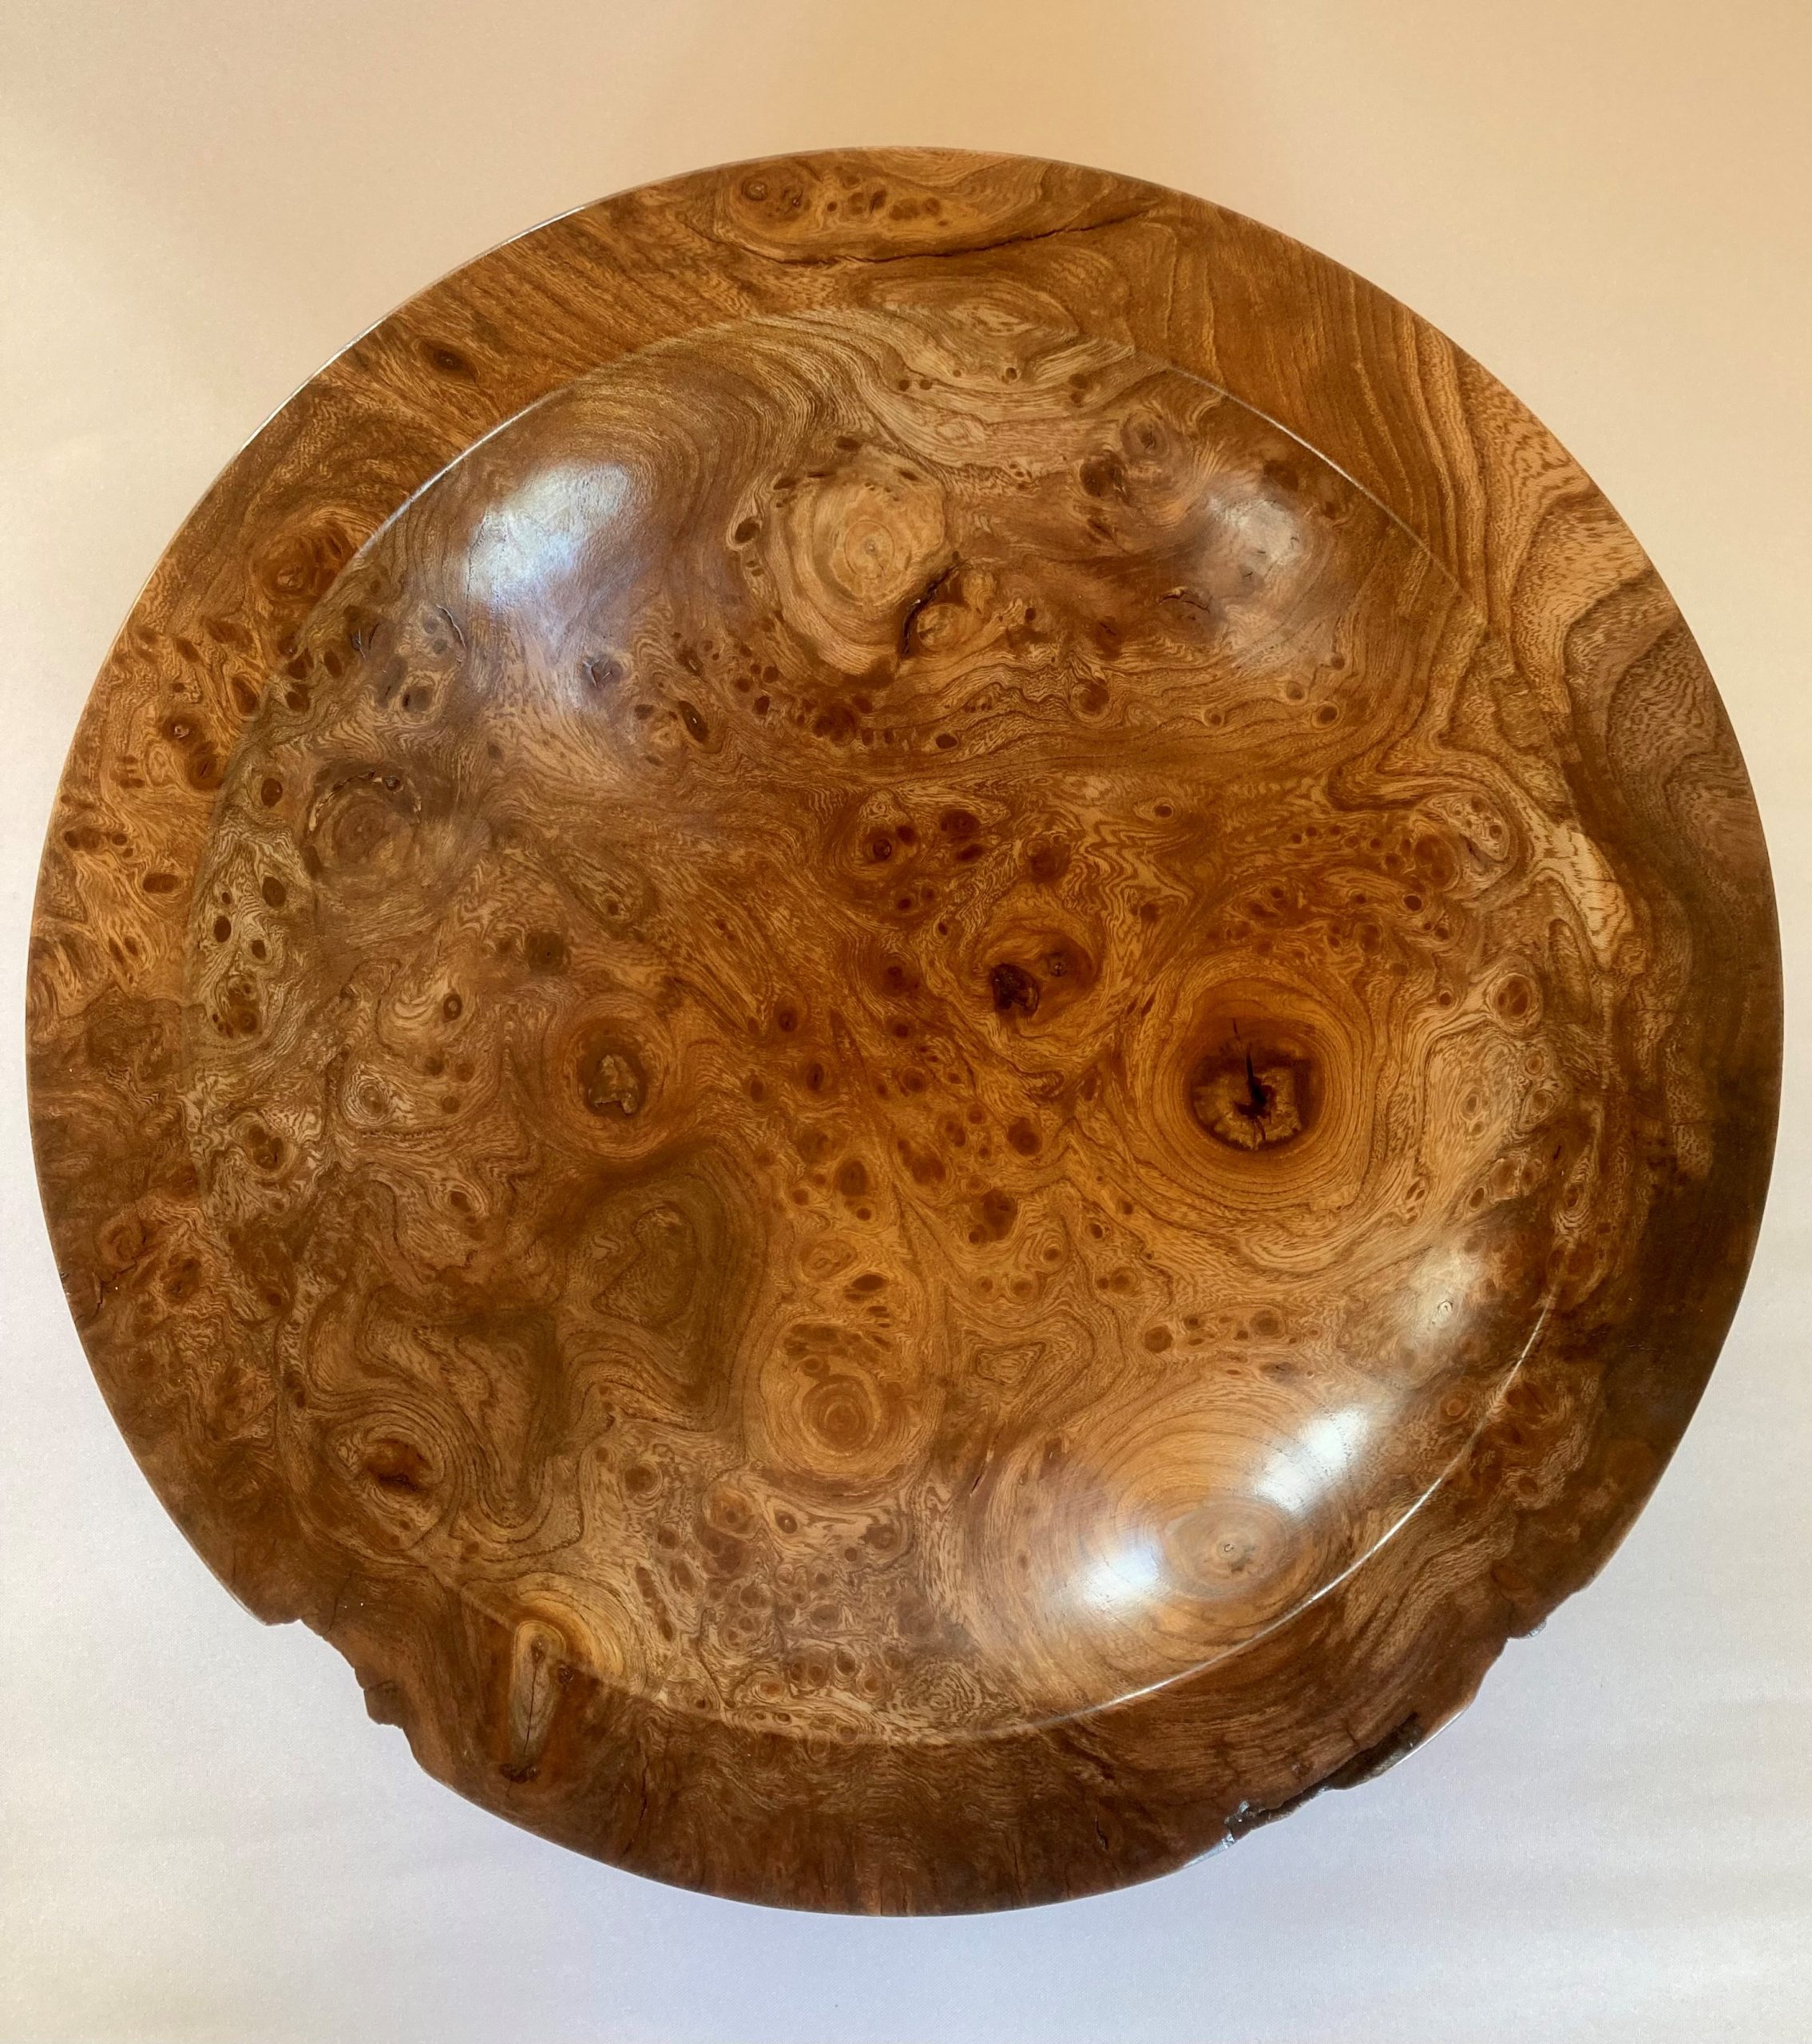
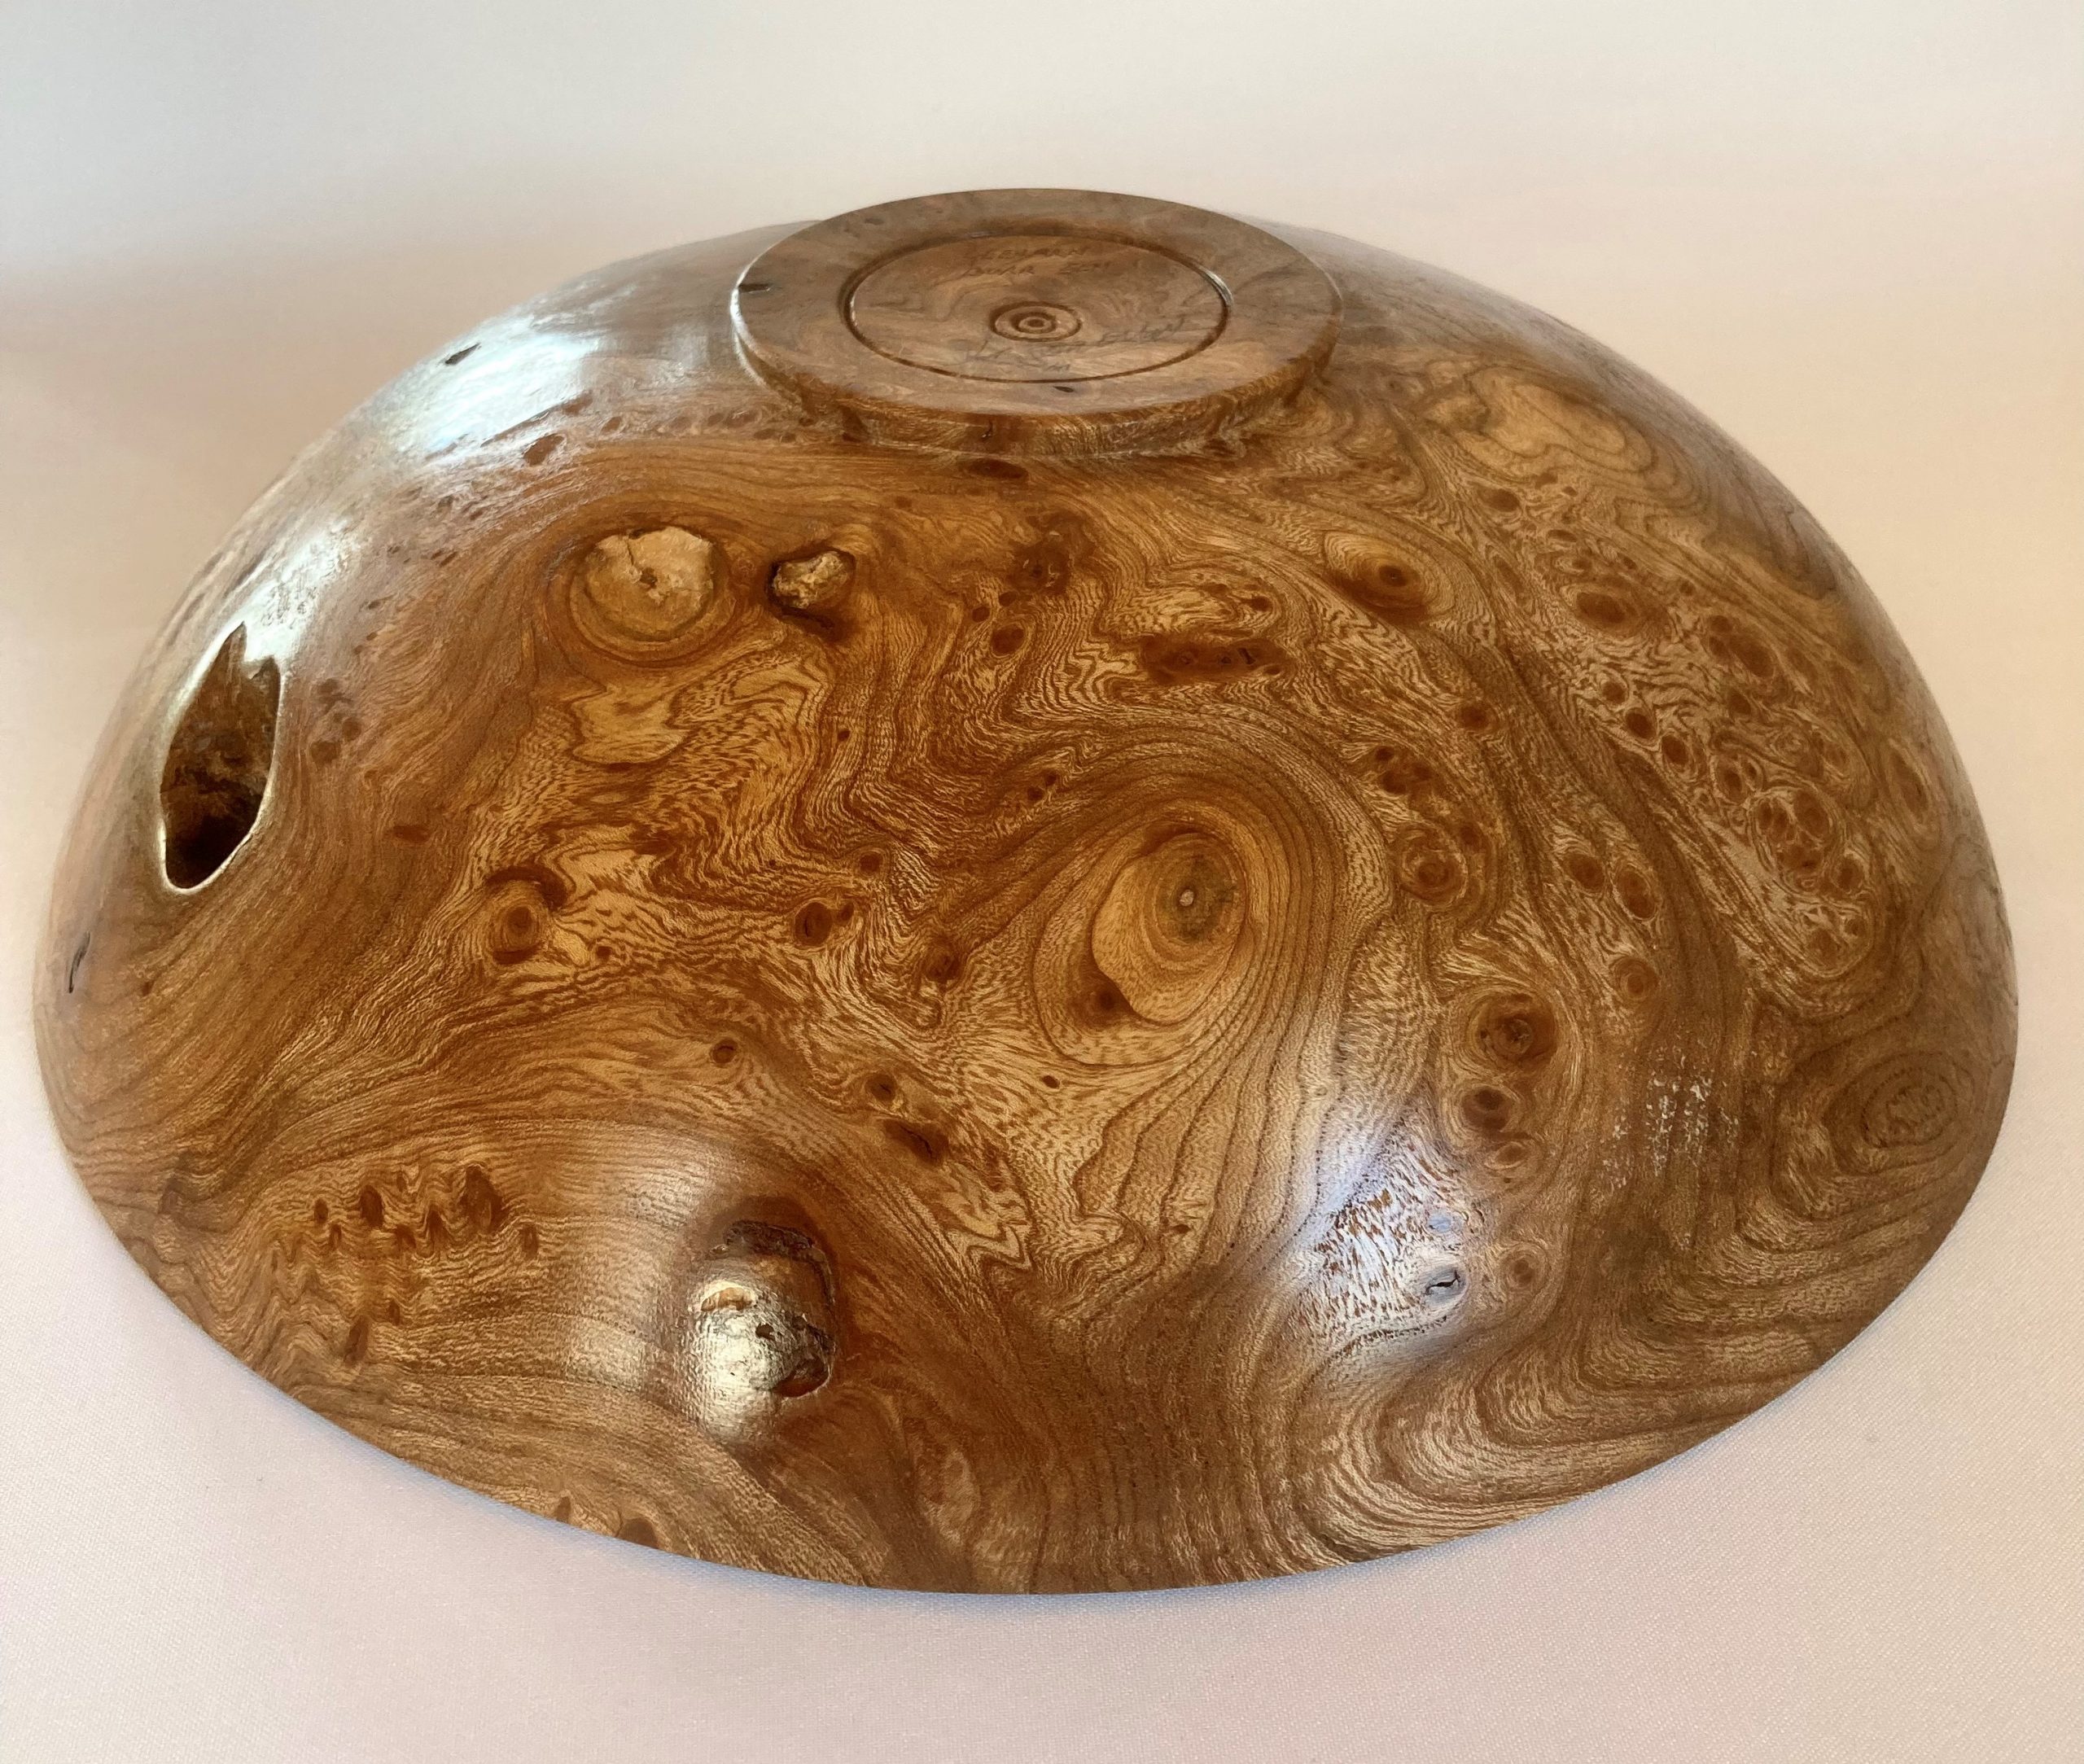
I was given this piece of Burr Elm some 10 -12 years ago in a wet & dirty state after the tree had been felled & cut up but left lying on the ground. I put it in my wood store & checked it every now & then for moisture content, cracks etc. It didn’t look particularly interesting & had a number of fairly deep voids so it took me a while to grasp the nettle & tackle it.
I decided that the most sensible project for it was a bowl, because of the shape of the burr, so set about cutting off the excess parts to try & balance it. Doing this exposed some beautiful graining in the wood so that clinched it – a simple bowl was the answer.
I mounted it using a face plate on an area I flattened to get a good grip. It was still badly out of balance so speed was kept very low until I had it roughed down. The tool I mainly used was a ½” bowl gouge in a long handle to give some control.
I had to decide whether to expose the voids & have holes in the bowl or leave it a little thicker & get the best effect from the grain. I opted for the latter.
The bowl measures 11” in Diameter & is 3” high. It was finished with 2 coats of hard wax oil & then a coat of Microcrystalline wax.
The main lesson learned with this is when nature provides something with such wonderful grain & colour, keep it simple.
My advice to anyone trying a burr turning is don’t be put off by what may look an uninteresting piece of wood. Mount it safely using tailstock support for as long as possible & of course, use all appropriate PPE.
Remember, sometimes less is more!
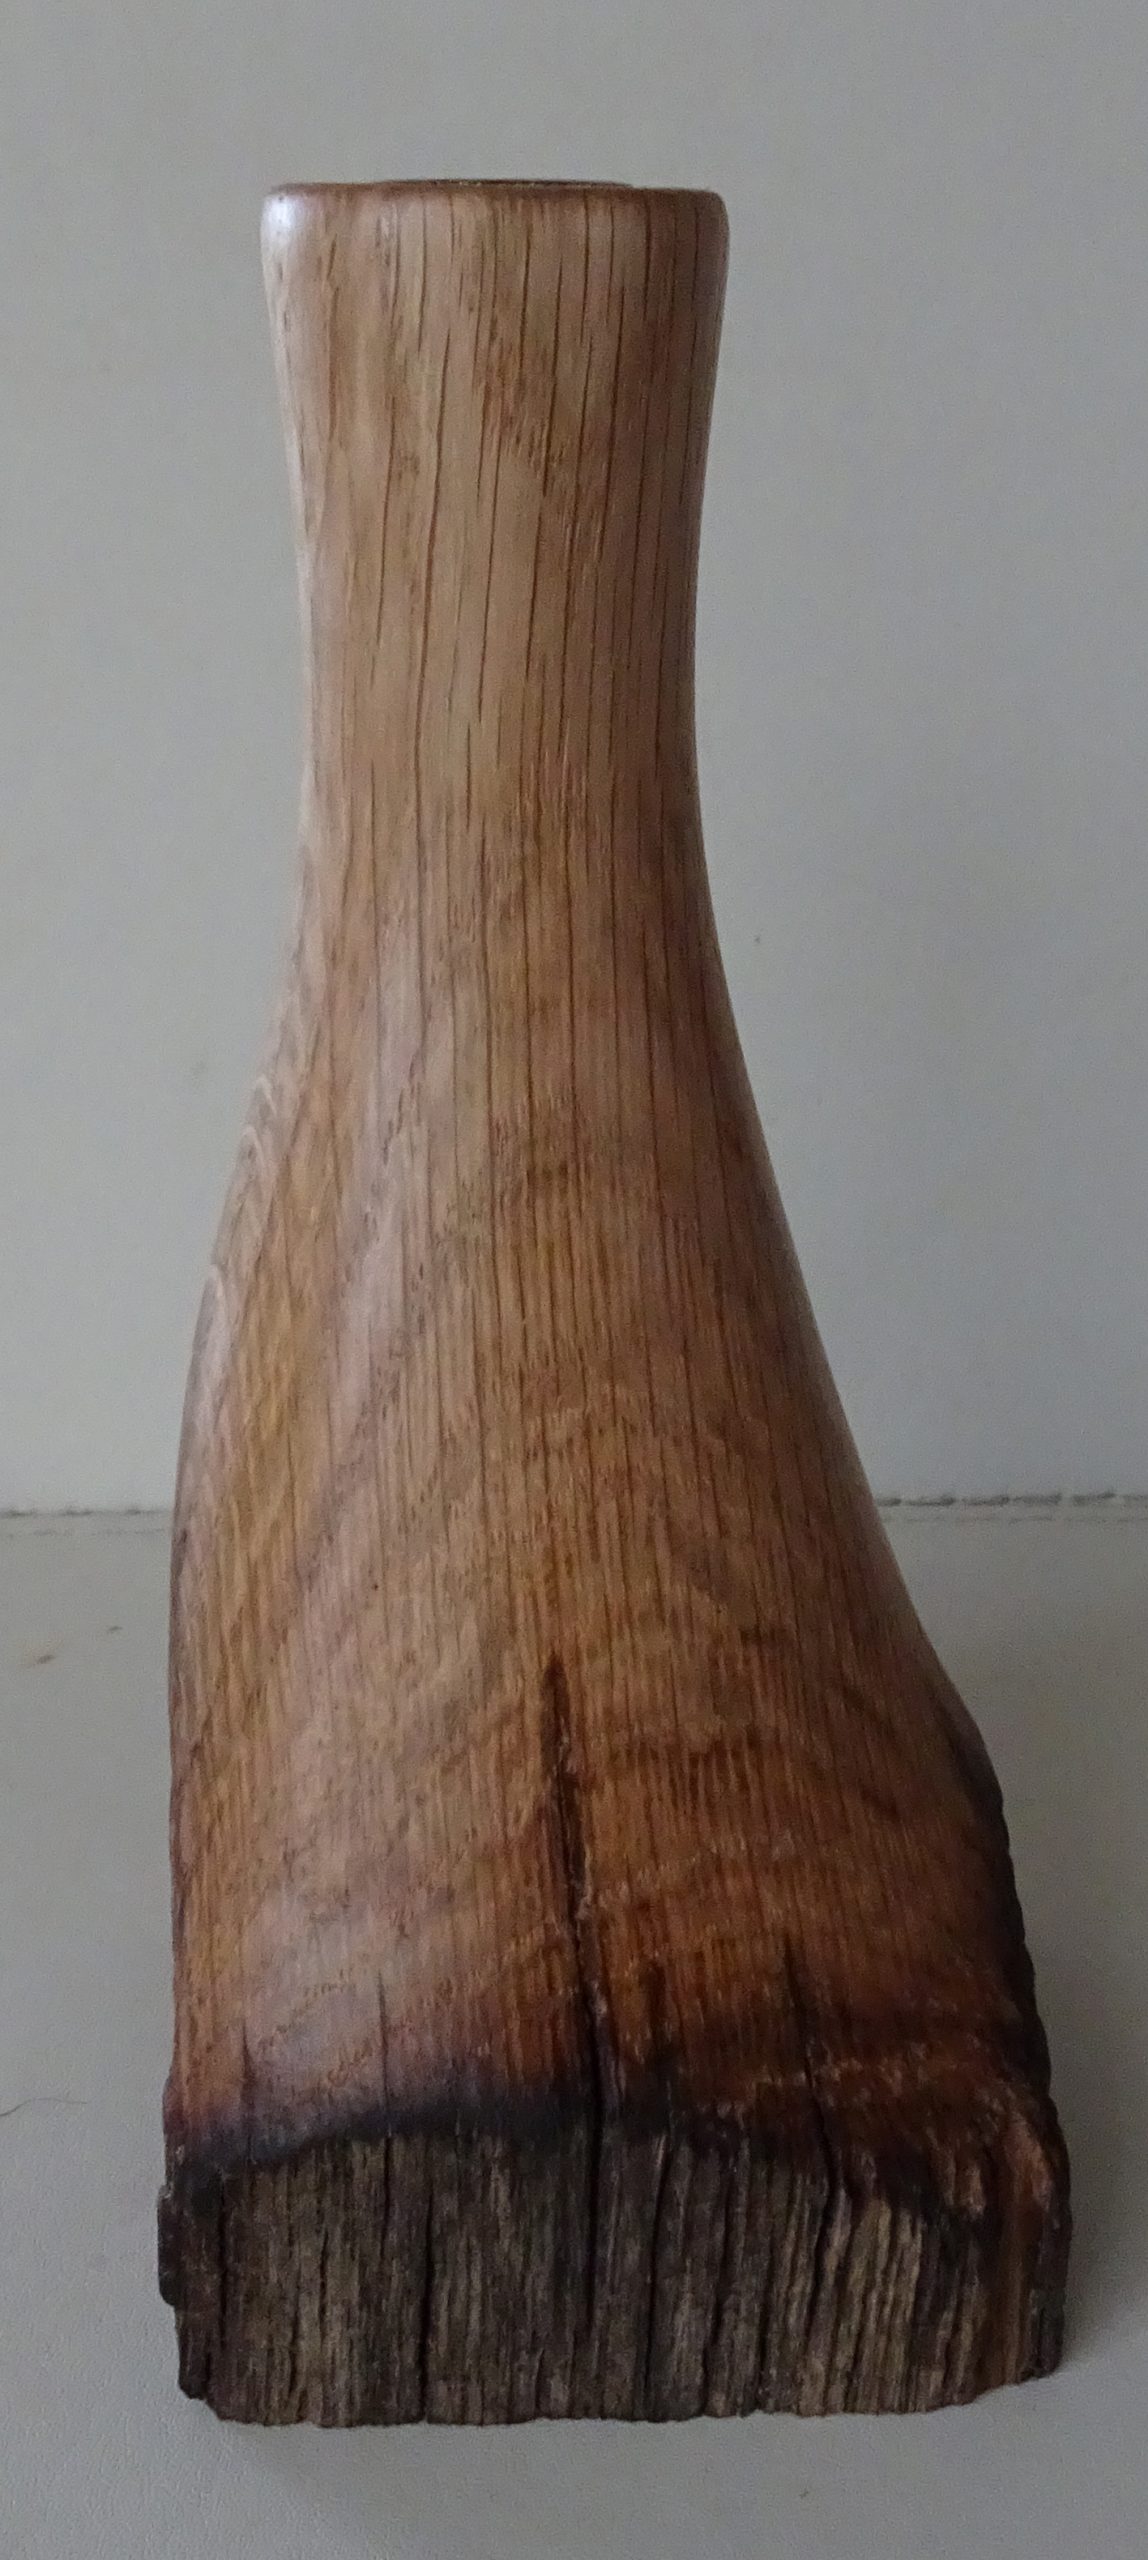

A 3/8 spindle gouge was used to cut the shape of the neck and then various grades of abrasive before applying a finish of sanding sealer and wax. No finish has been applied to the original parts of the post.
Simplicity is well worth pursuing.

Ken Webb
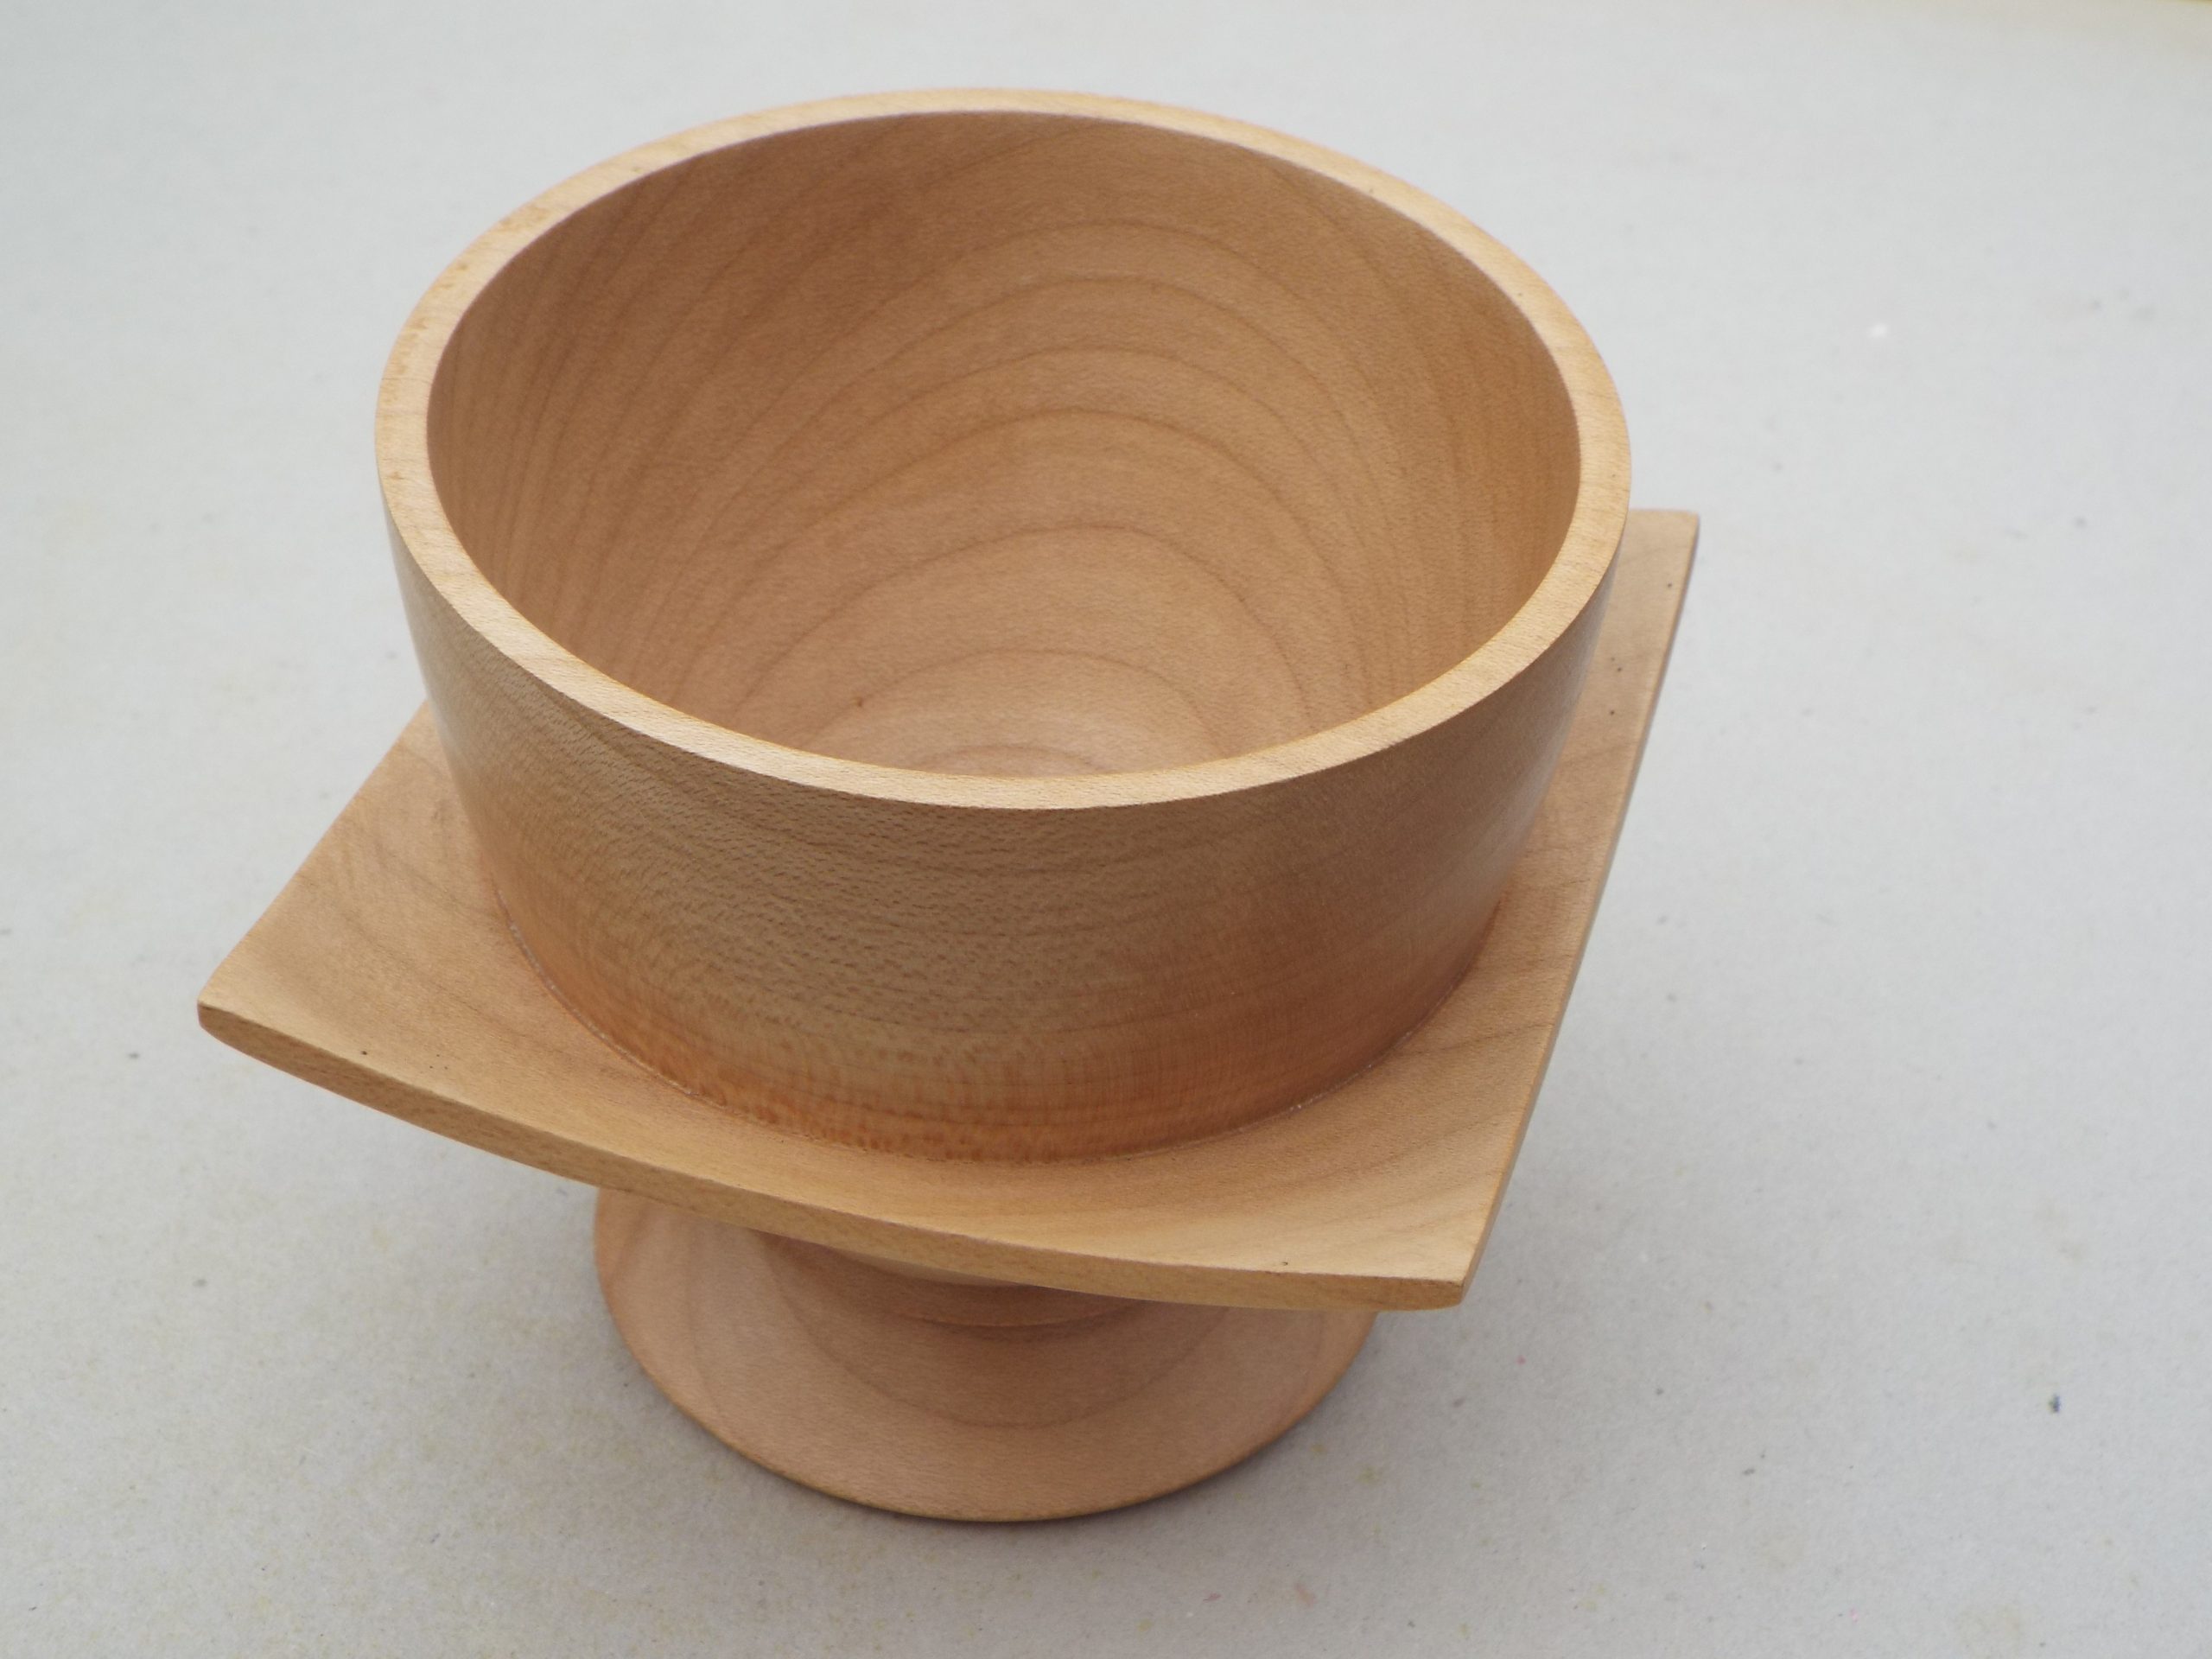
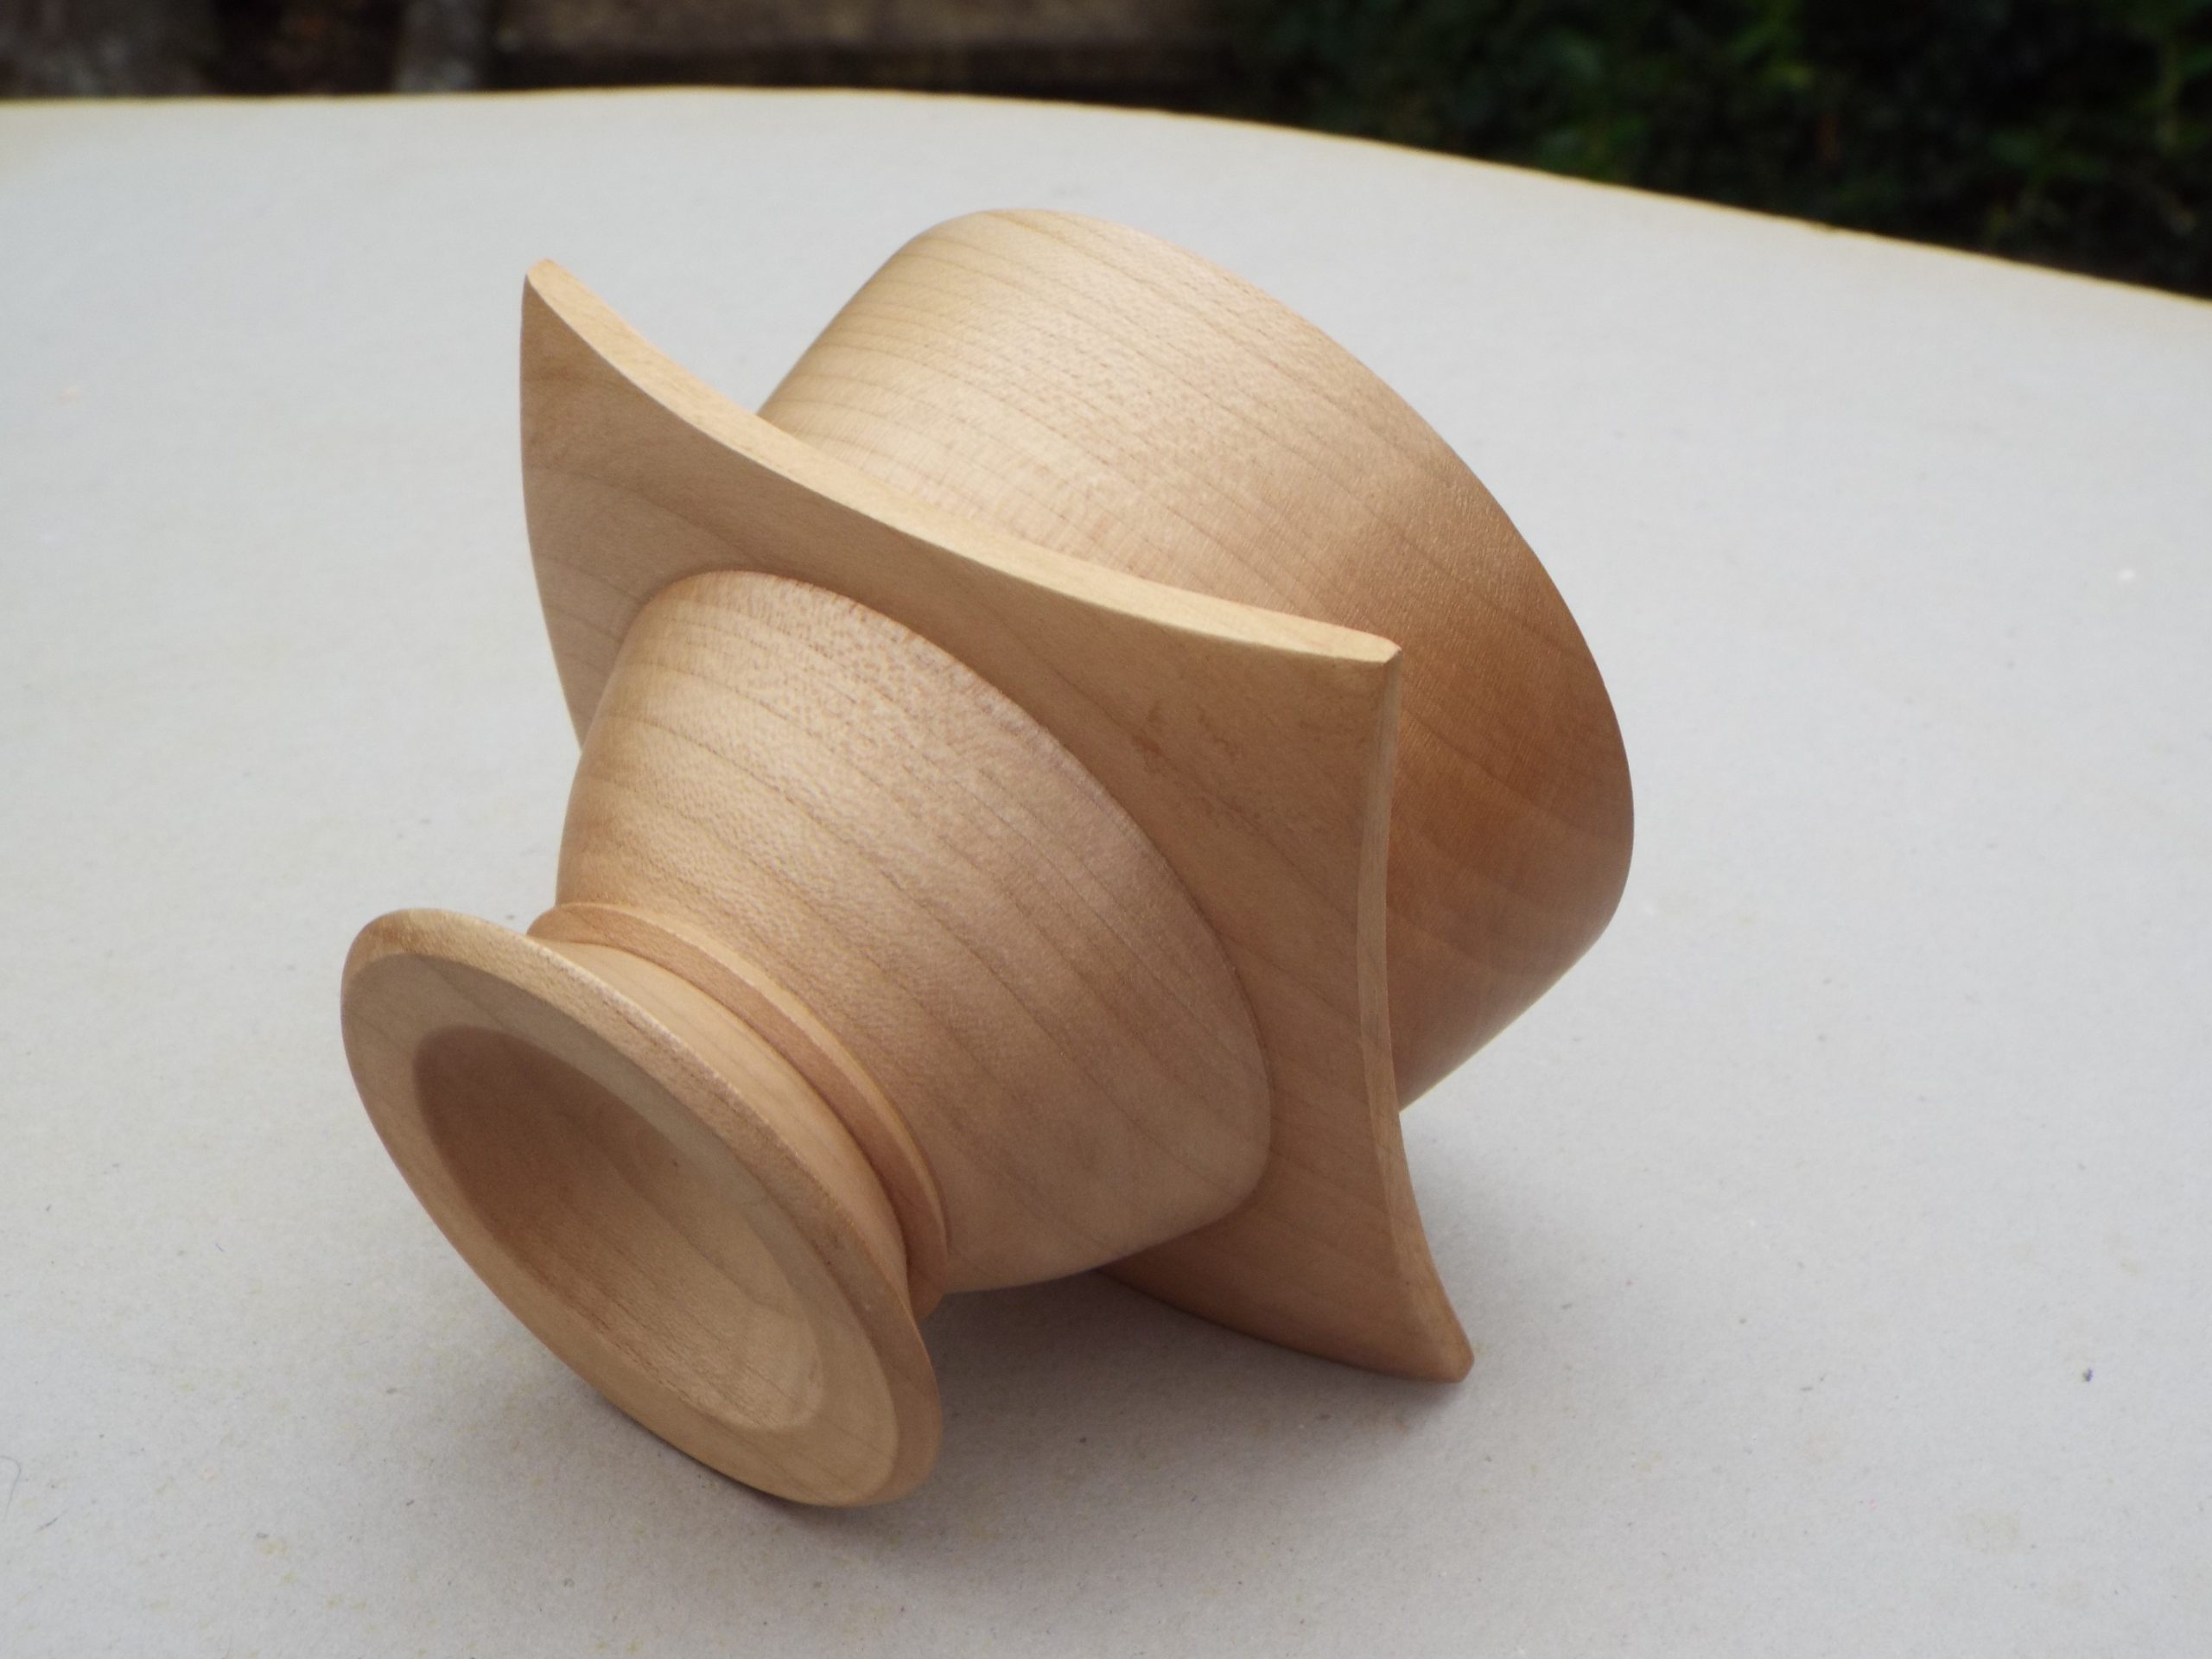
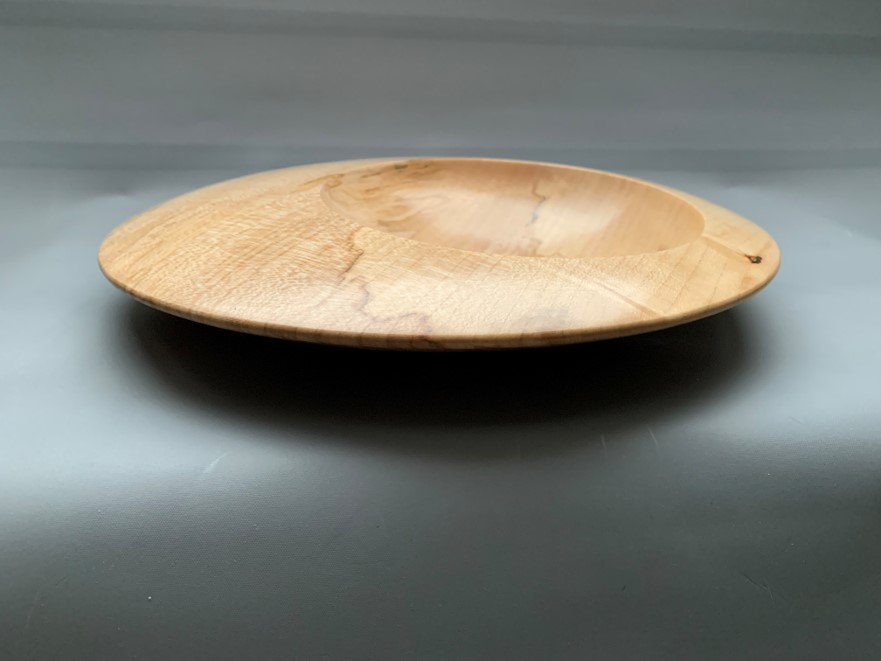
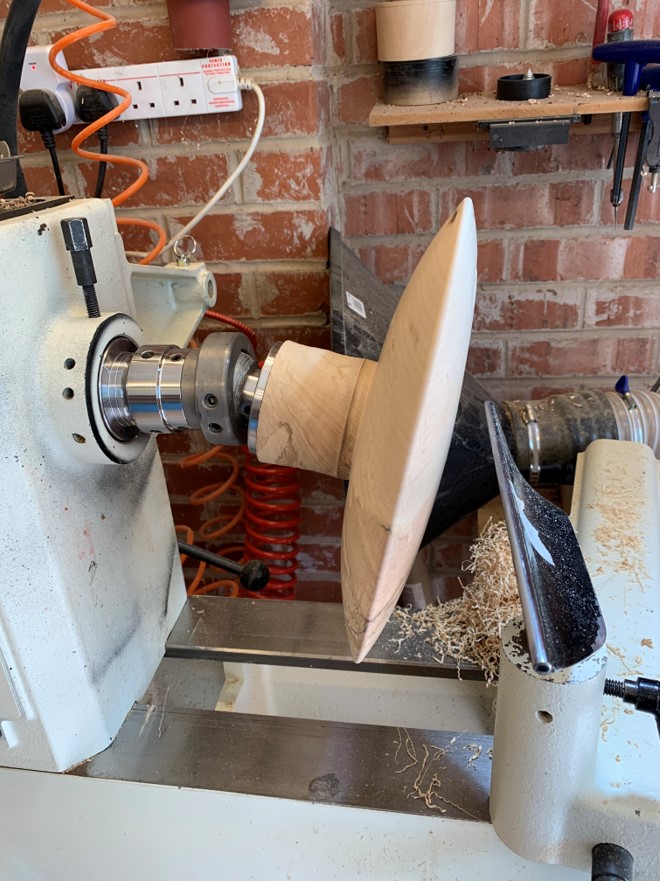
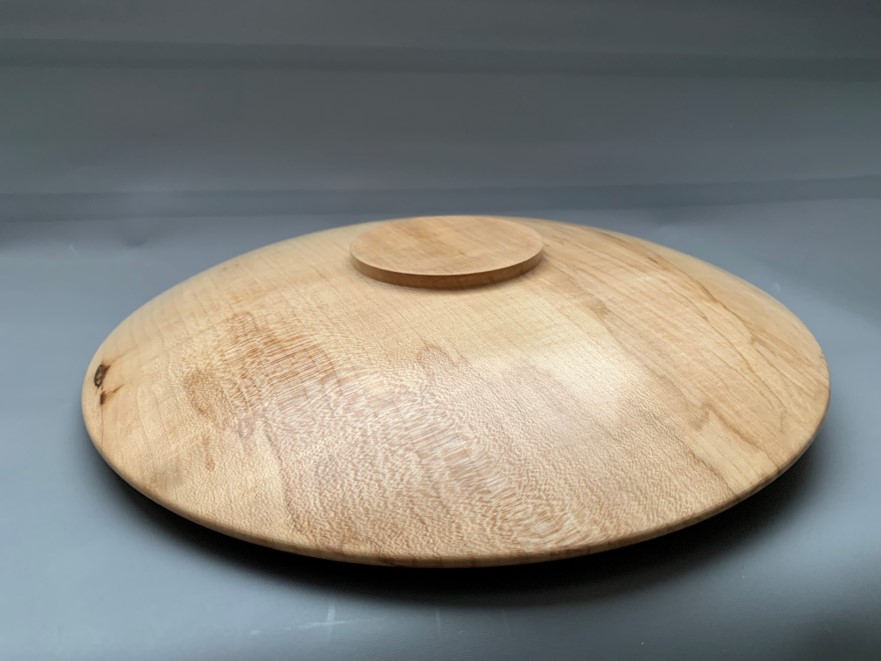
Most of my spindle turning starts with a square section of timber that is turned to a cylinder using a roughing gouge. The shavings from the square corners very quickly make a pile on the floor, or as my grandchildren say “Granddad is making hamster beds again”. I have often wondered what could be obtained if some of the square corners were not removed and left to form part of the finished piece. So the idea of a goblet with a square ring section was born, this is now my entry to ‘Show and Tell’ and how it was achieved.
I used a block of sycamore 4.25 inches square x 6 inches long mounted on my Apollo Woodpecker lathe using a steb centre drive at the headstock and a steb centre in a revolving centre at the tailstock after carefully identifying the centres using the diagonal cross points. The block was then turned to a cylinder while leaving a 0.75 inch square section 2.5 to 3.25 inches from the headstock end. Next a 0.5 inch spigot 2 inches in diameter was turned at
each end to enable remounting in my Nova scroll chuck. Choosing which end was going to be the top of the goblet the work piece was mounted in the chuck, again using the tailstock steb centre mark to ensure true centring.
The base of the goblet with the square part slightly curved upwards was turned ensuring crisp detail to all sections. The base was then partially
parted 2 inches from the square detail. The work piece was reversed in the chuck, again using the steb centre mark to ensure true centring. The outside of the goblet was turned ensuring it matched the part below the square section and the square part turned to follow the curve turned previously. The goblet’s bowl hollowed, insuring the goblet wall width and the square
section was the same. Sanding, sealing and waxing were now completed with frequent counts of my fingers as the flying corners are quite capable of removing one or two. The goblet was again reverse chucked using a jam chuck this time and the steb mark for true running. (I really must get a proper set of bowl reversing jaws).
The final parting of the base and the detail added to the base finalised and finishing completed. The finished goblet is 4 inches high and 4.25 inches along the square edge. The crisp detail was obtained by using a solid 6mm HSS bar with a long fingernail grind.
An interesting project that I hope will be tried by many people.


Roger Groom
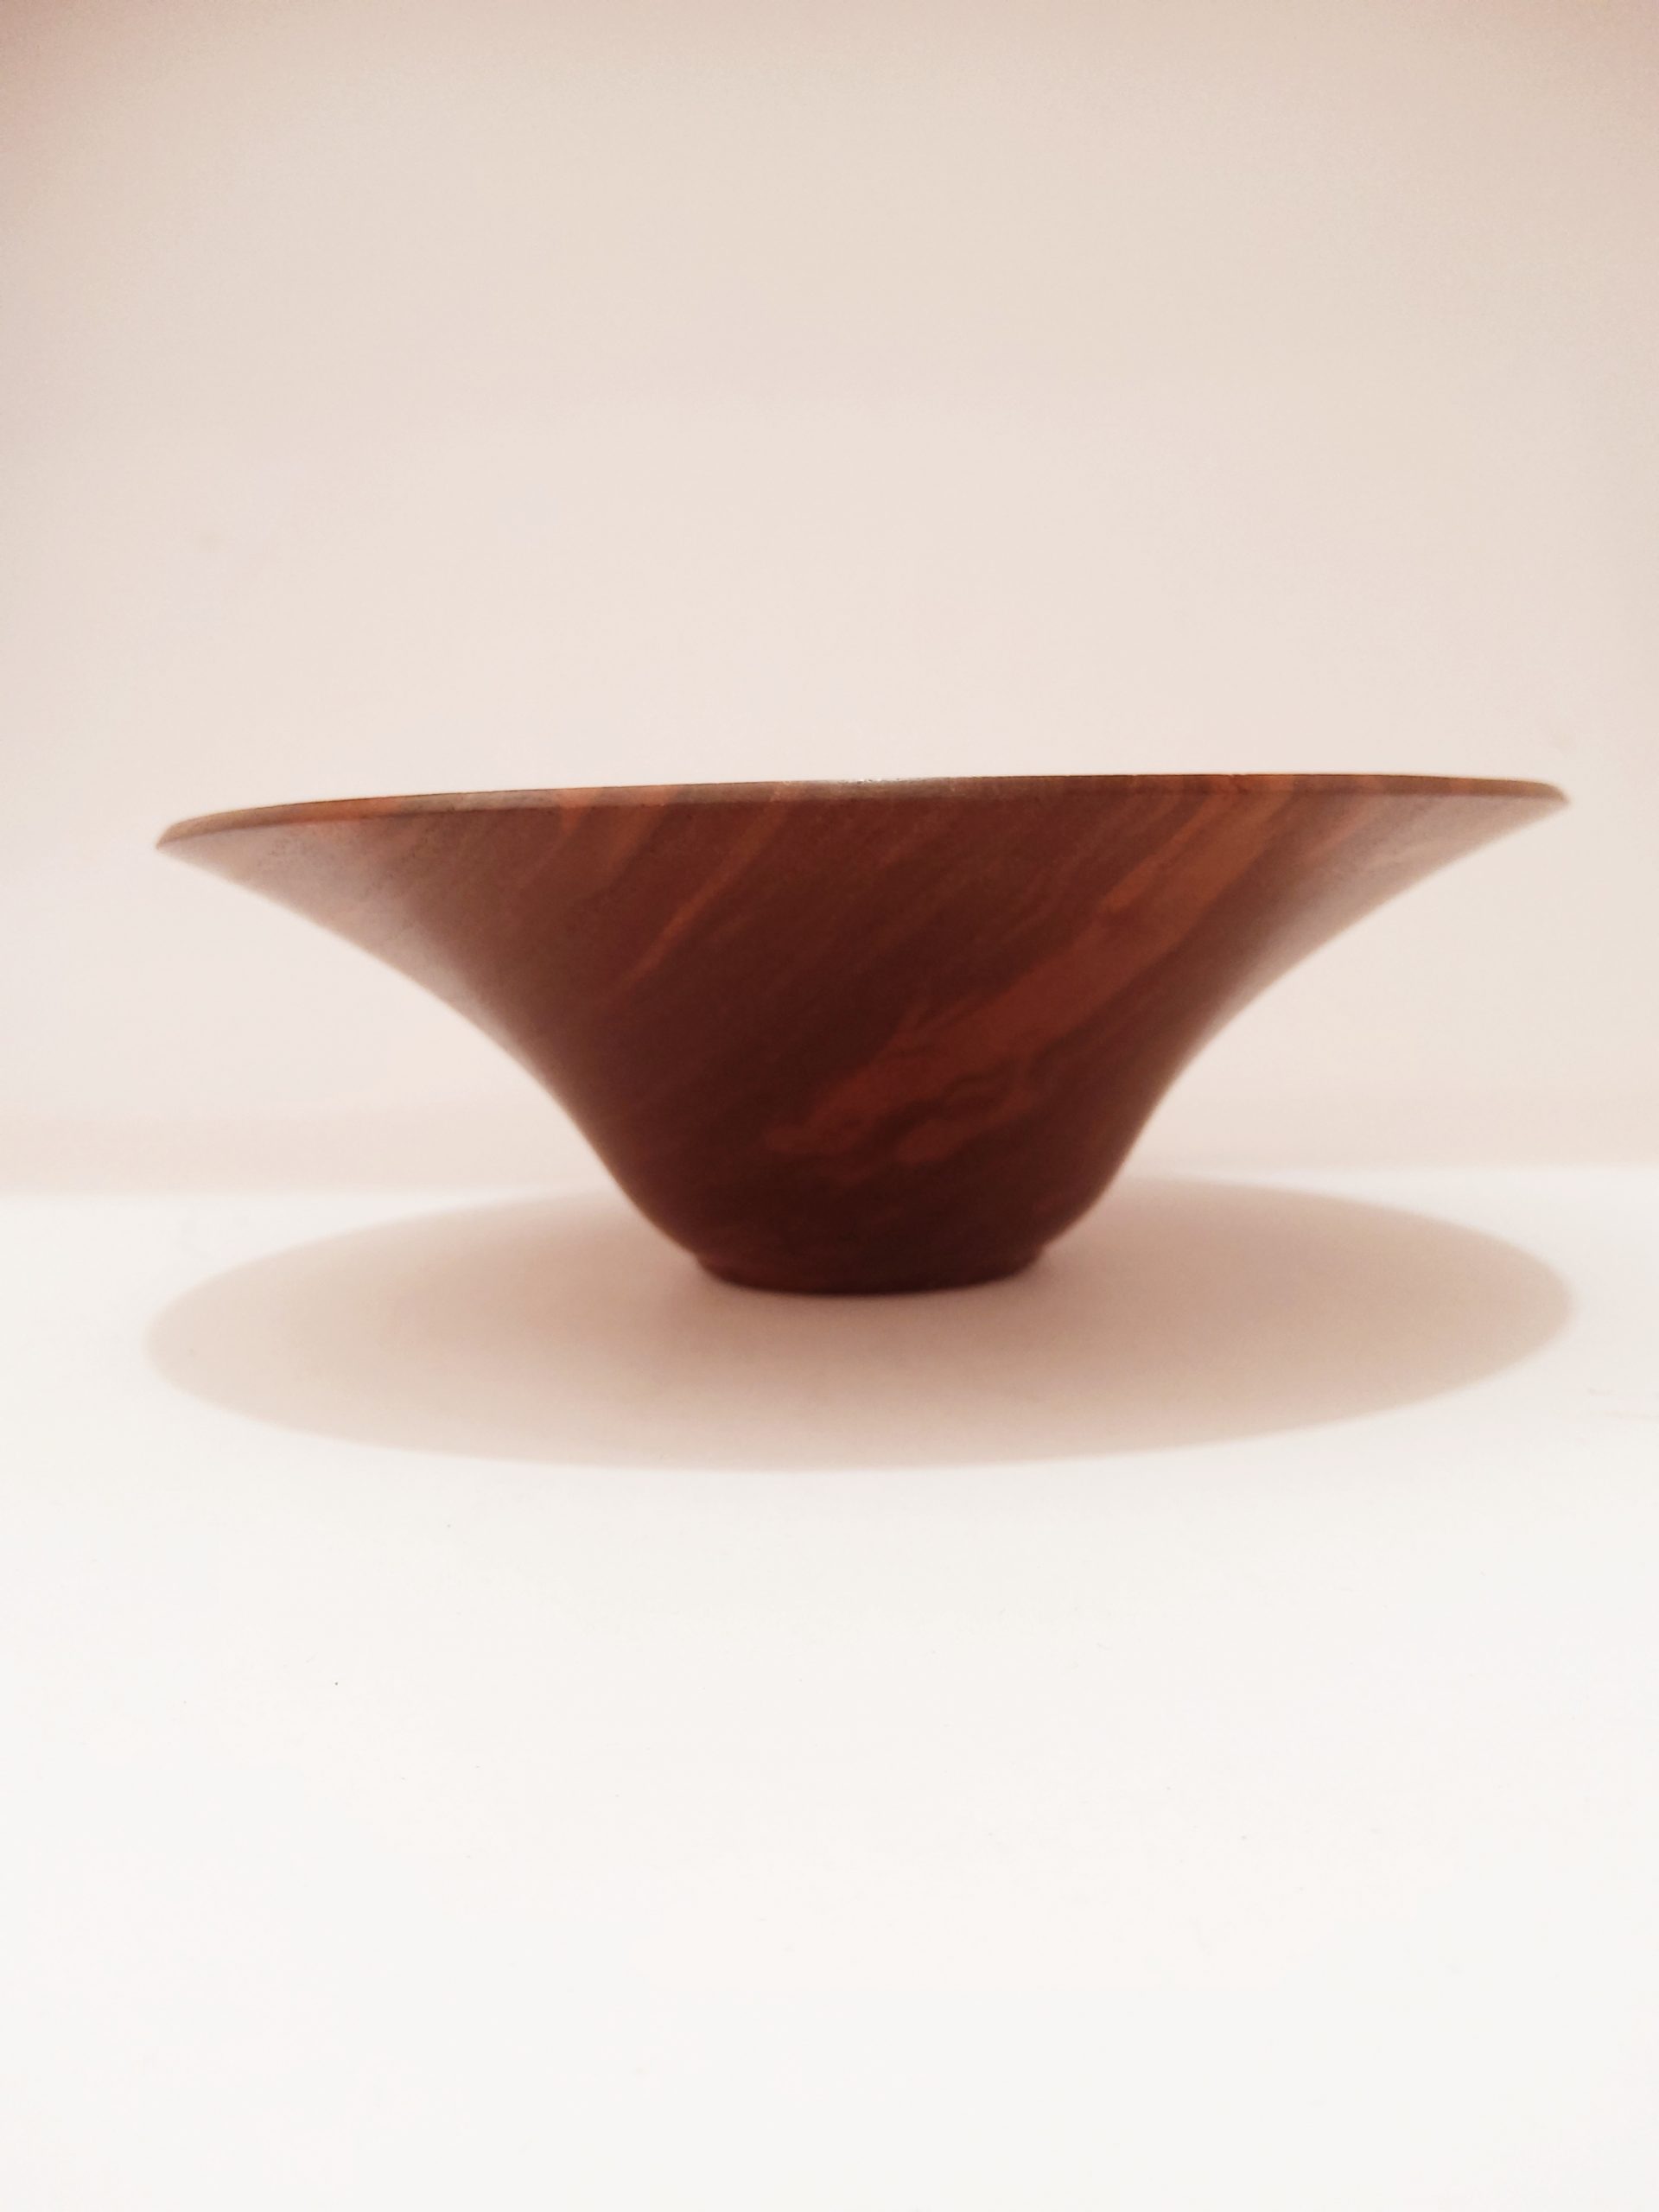
One of the turners who I have always admired is the late and great Bert Marsh. His work is admired and replicated world wide. I say replicated but very few actually achieve the form and quality of work that he did, including myself. However this is my attempt to try. It is a piece of Walnut from a tree which I cut down and converted using an Alaskan Mill.
The blank, from one of the slabs, was placed on the lathe using a screw chuck to rough turn the outside shape, a spigot was cut just slightly bigger than the optimum diameter to allow for reshaping on final turning. The piece was reversed and the inside taken out leaving a wall thickness of about 1/2″. I then placed the rough turned bowl into my mini-kiln, which is basically an insulated box with a thermostated light bulb, which I used to use for brewing wine. It was left for about 3 weeks, being weighed every couple of days until the weight did not change.
It was now ready to be put back on the lathe to finish turn. With the rim placed against a faceplate and the tailstock pressing against the centre point, the spigot was resized to optimum size for my chuck, and the outside reshaped to an ogee shape and sanded to a fine finish.
The bowl was then reversed into the chuck and the inside turned out to follow the outside shape, leaving it slightly thicker at the base. Sanding followed once again to a fine finish and then the bowl was once again placed against a protected faceplate and the spigot turned into a small foot.
I always do my finishing off the lathe and this piece was finished with 4 coats of Rustins Danish Oil, cut back between each coat with Webrax. The wall thickness is about 3mm. Nowhere near as good as one of Bert’s, but my attempt nevertheless.

Graham Brooks

Peter Jackson
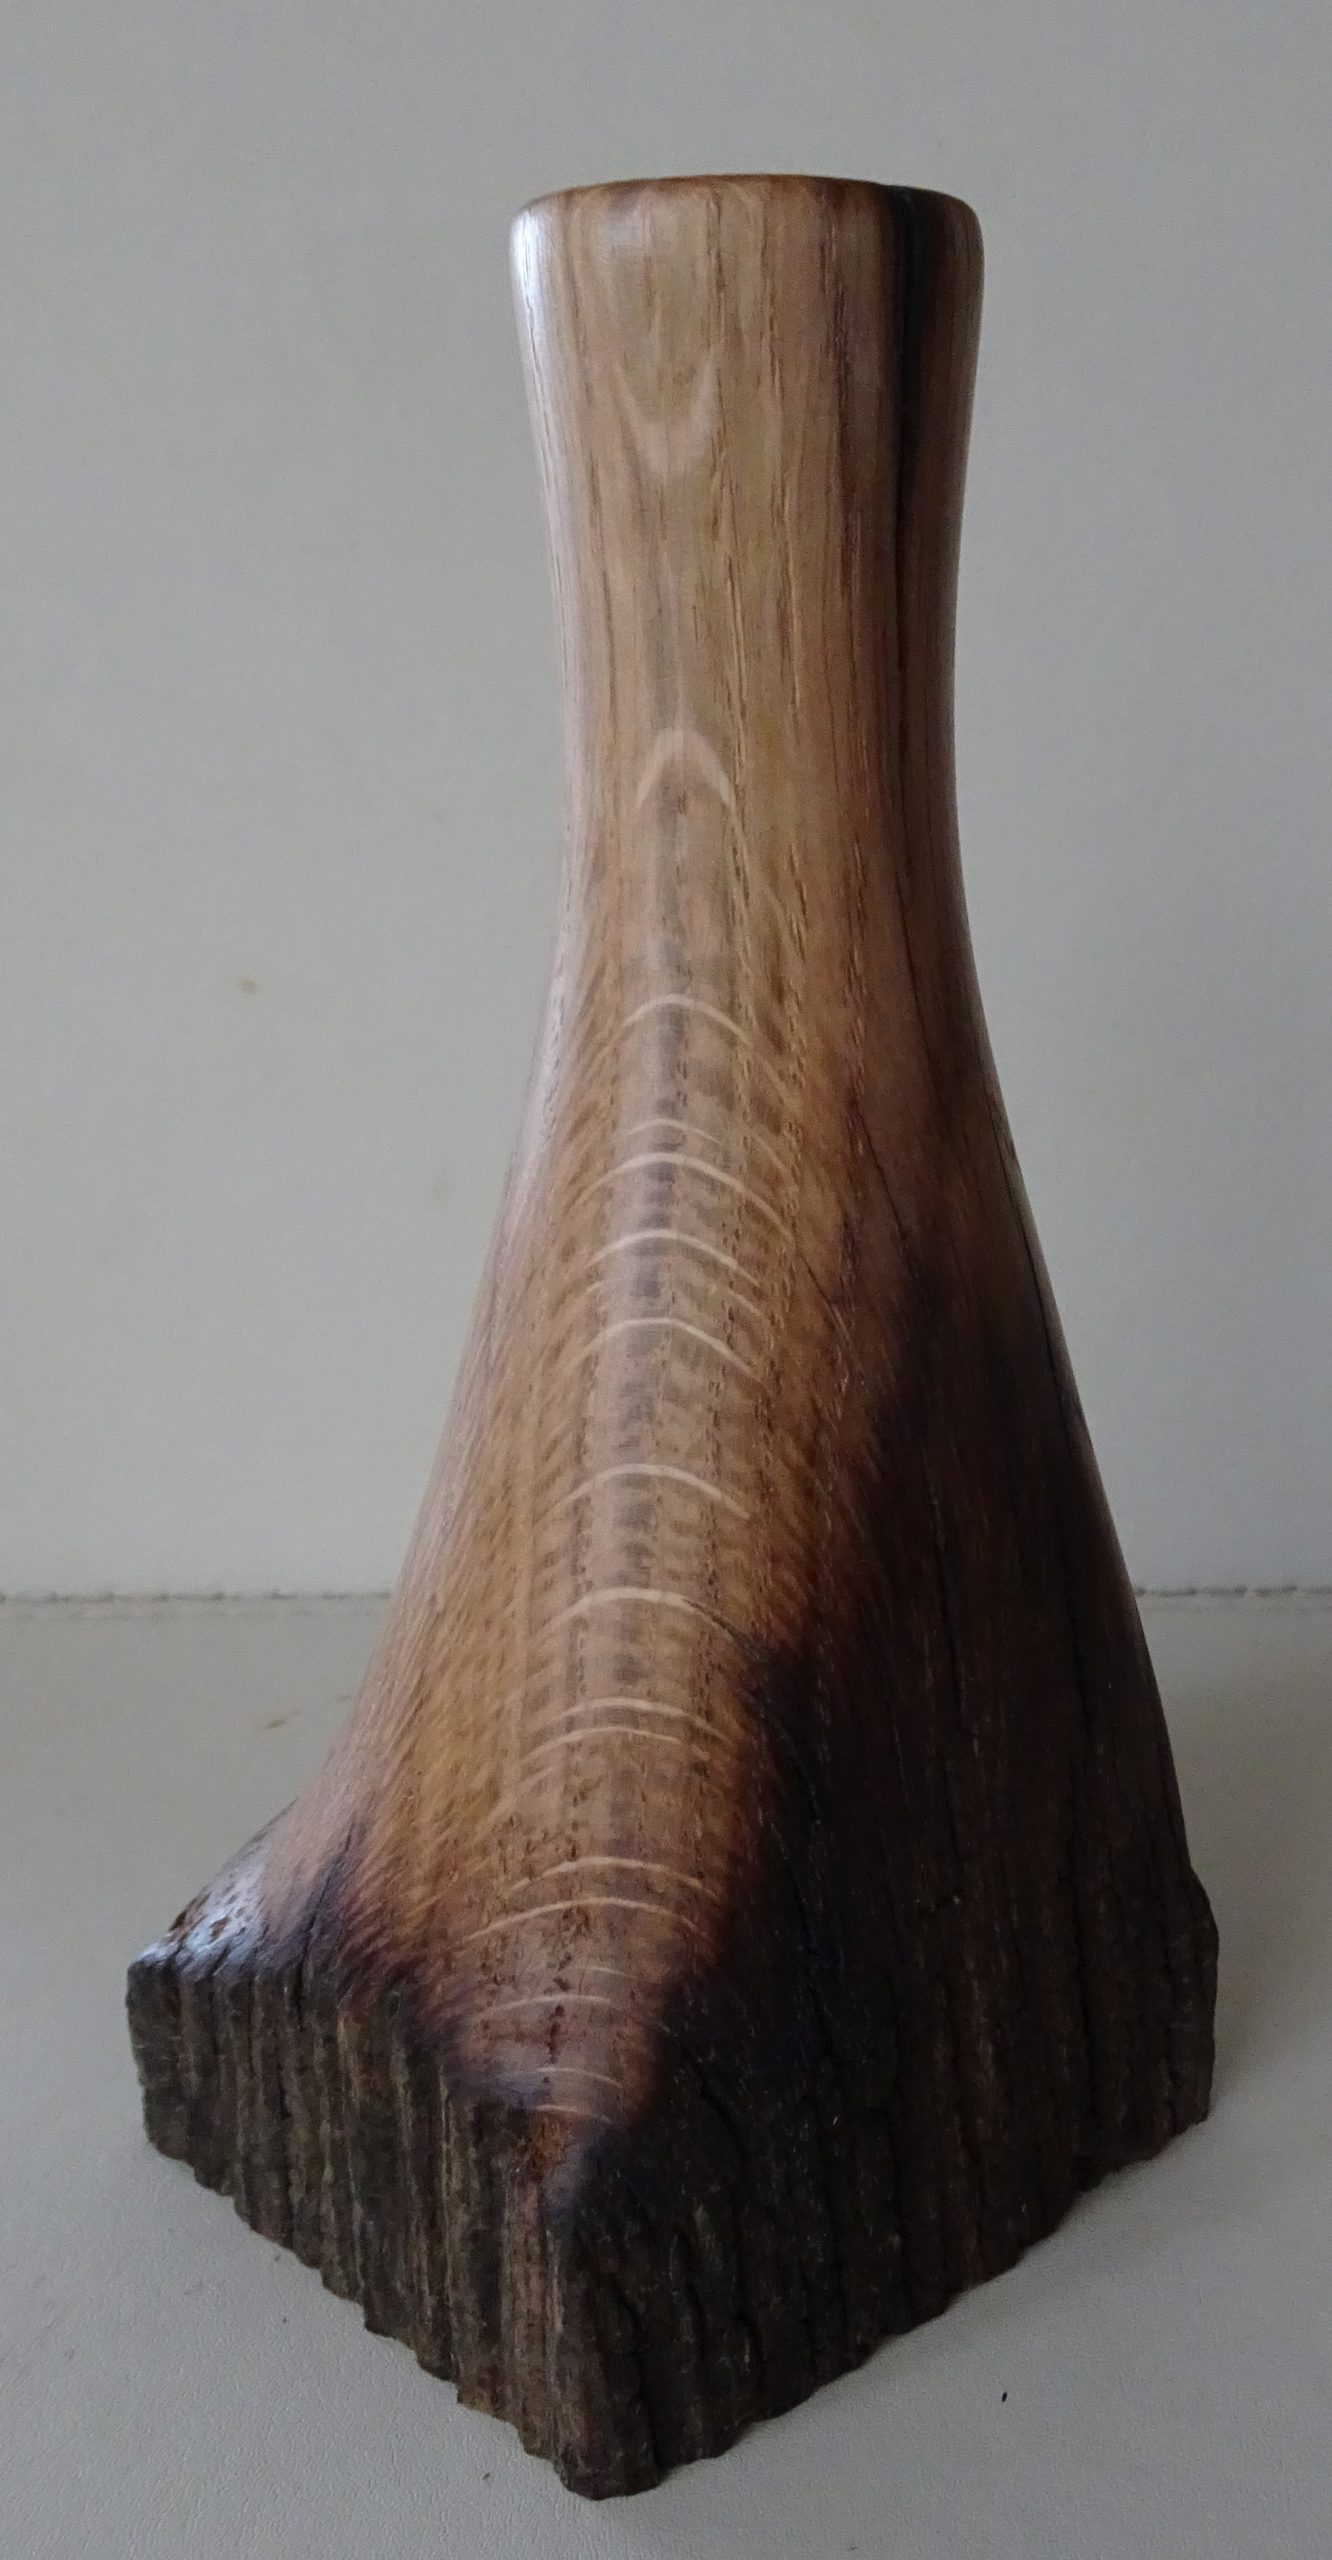
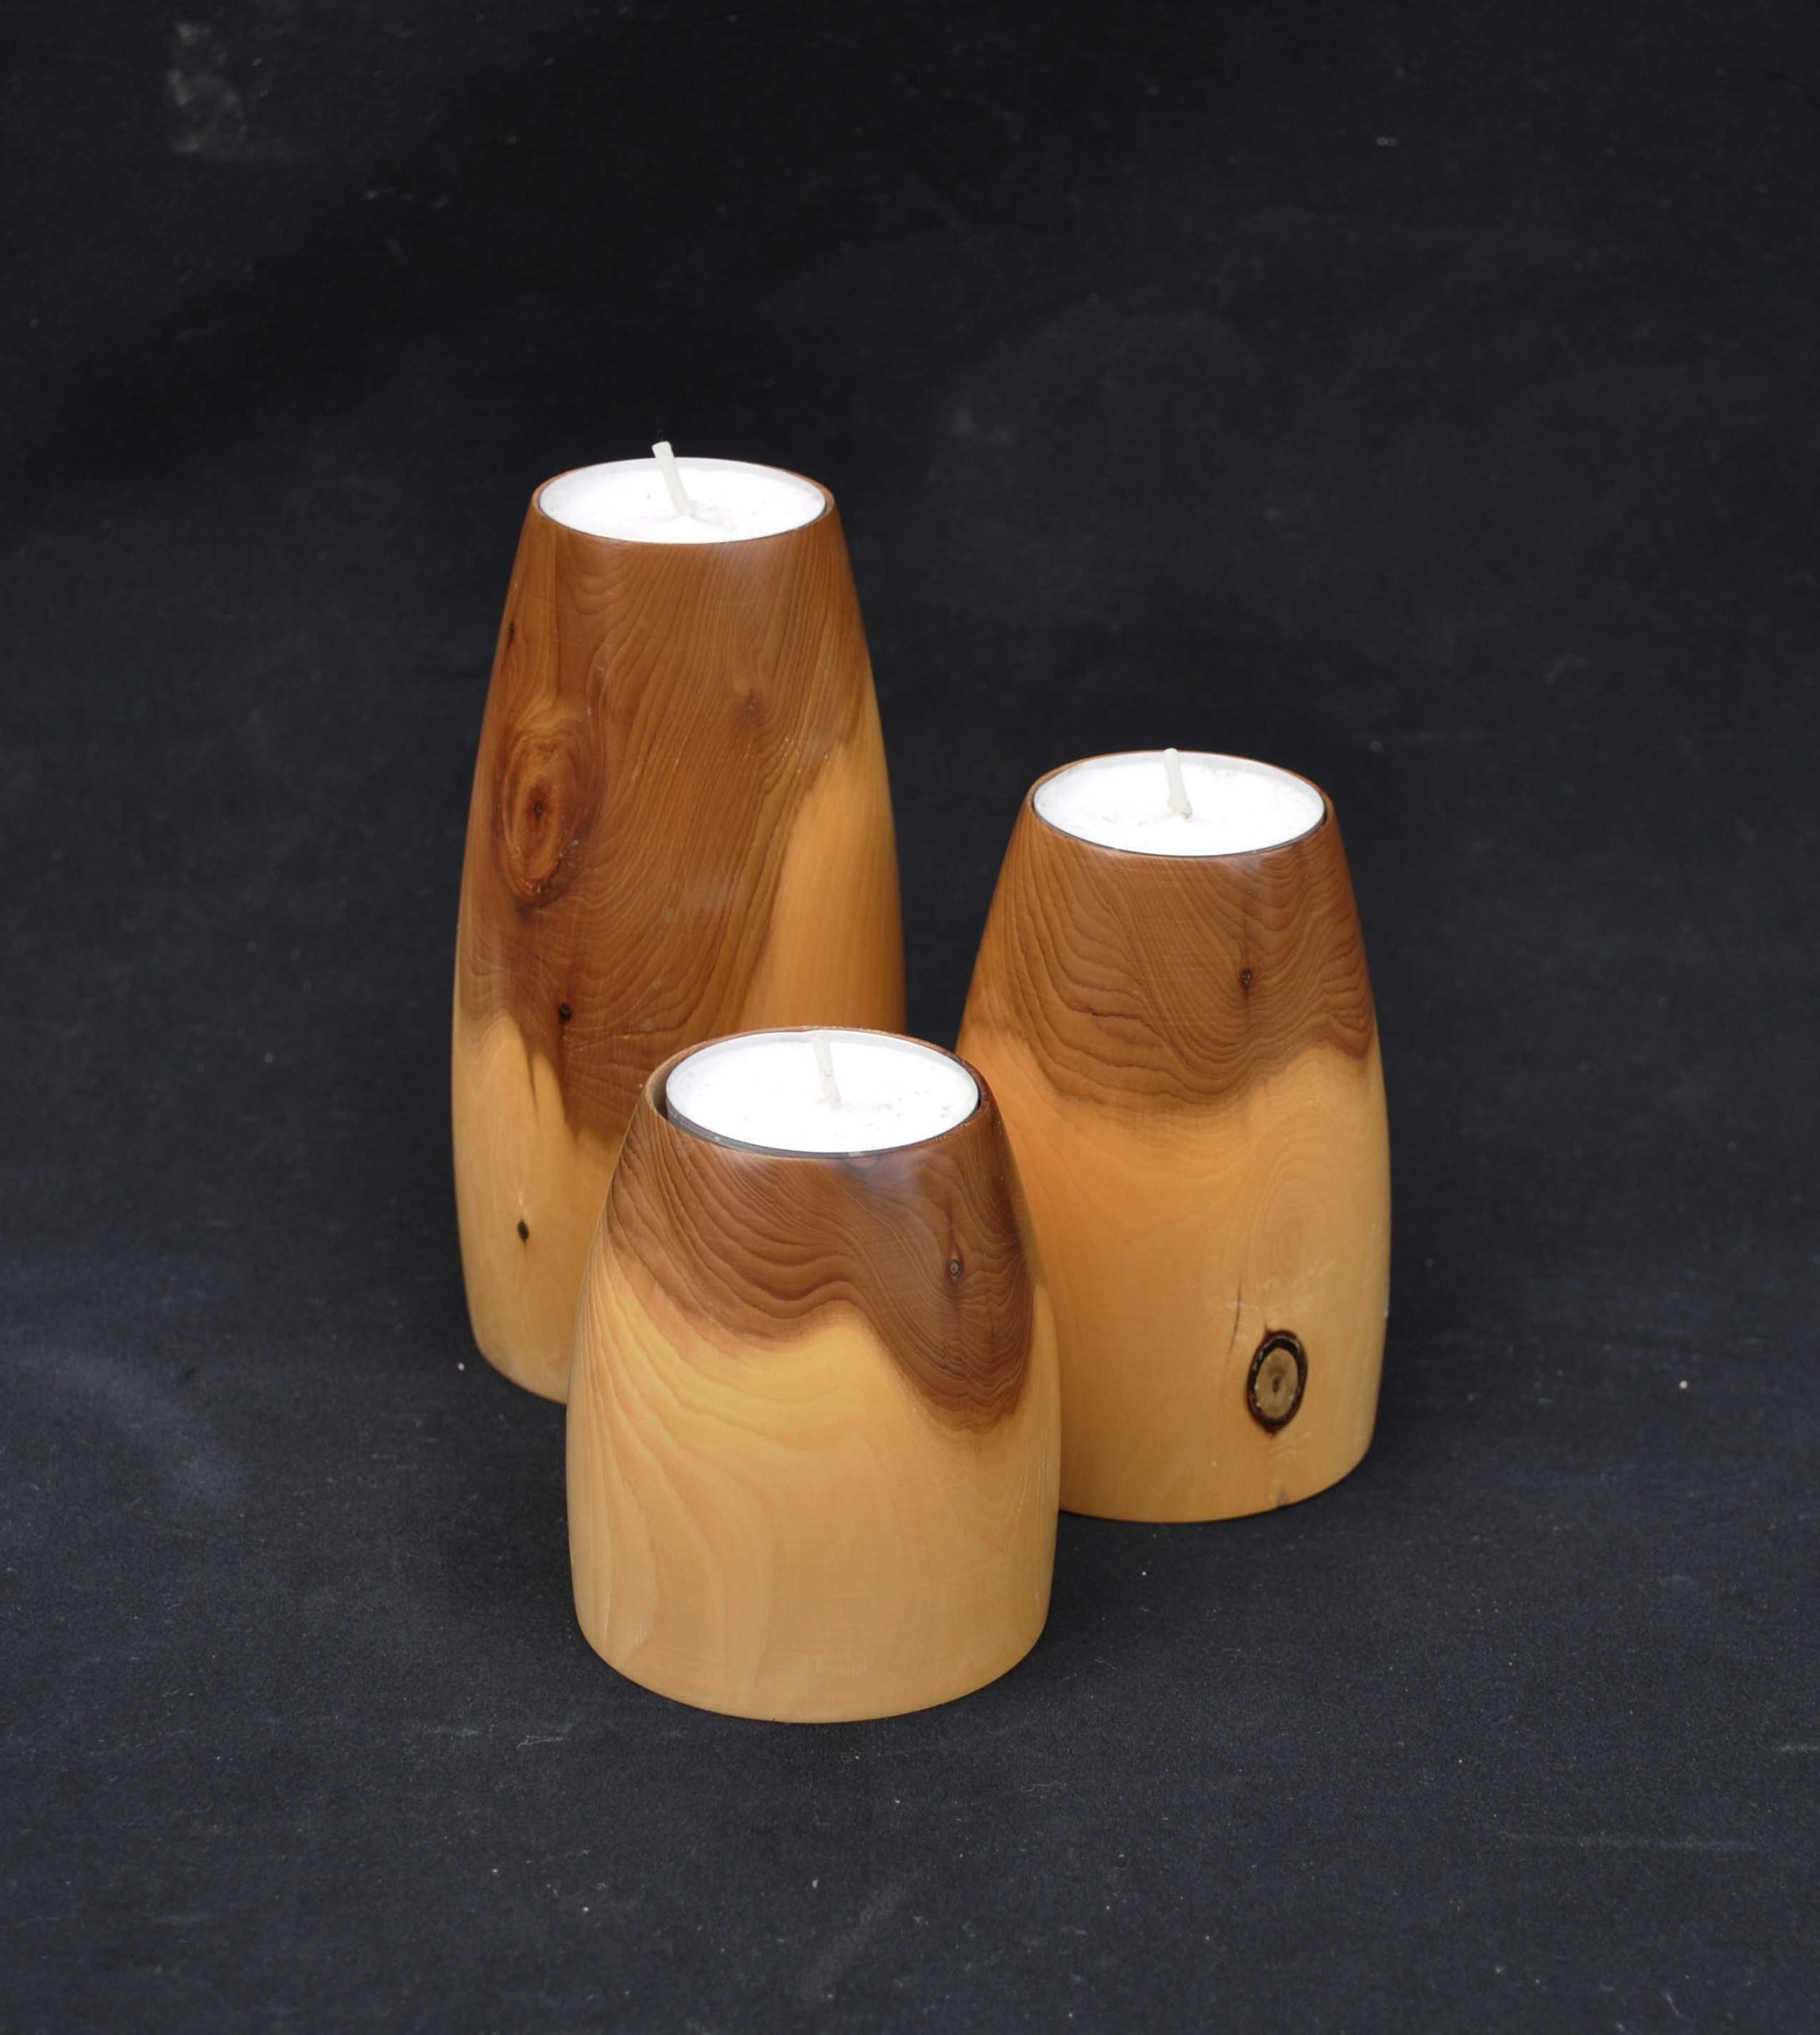
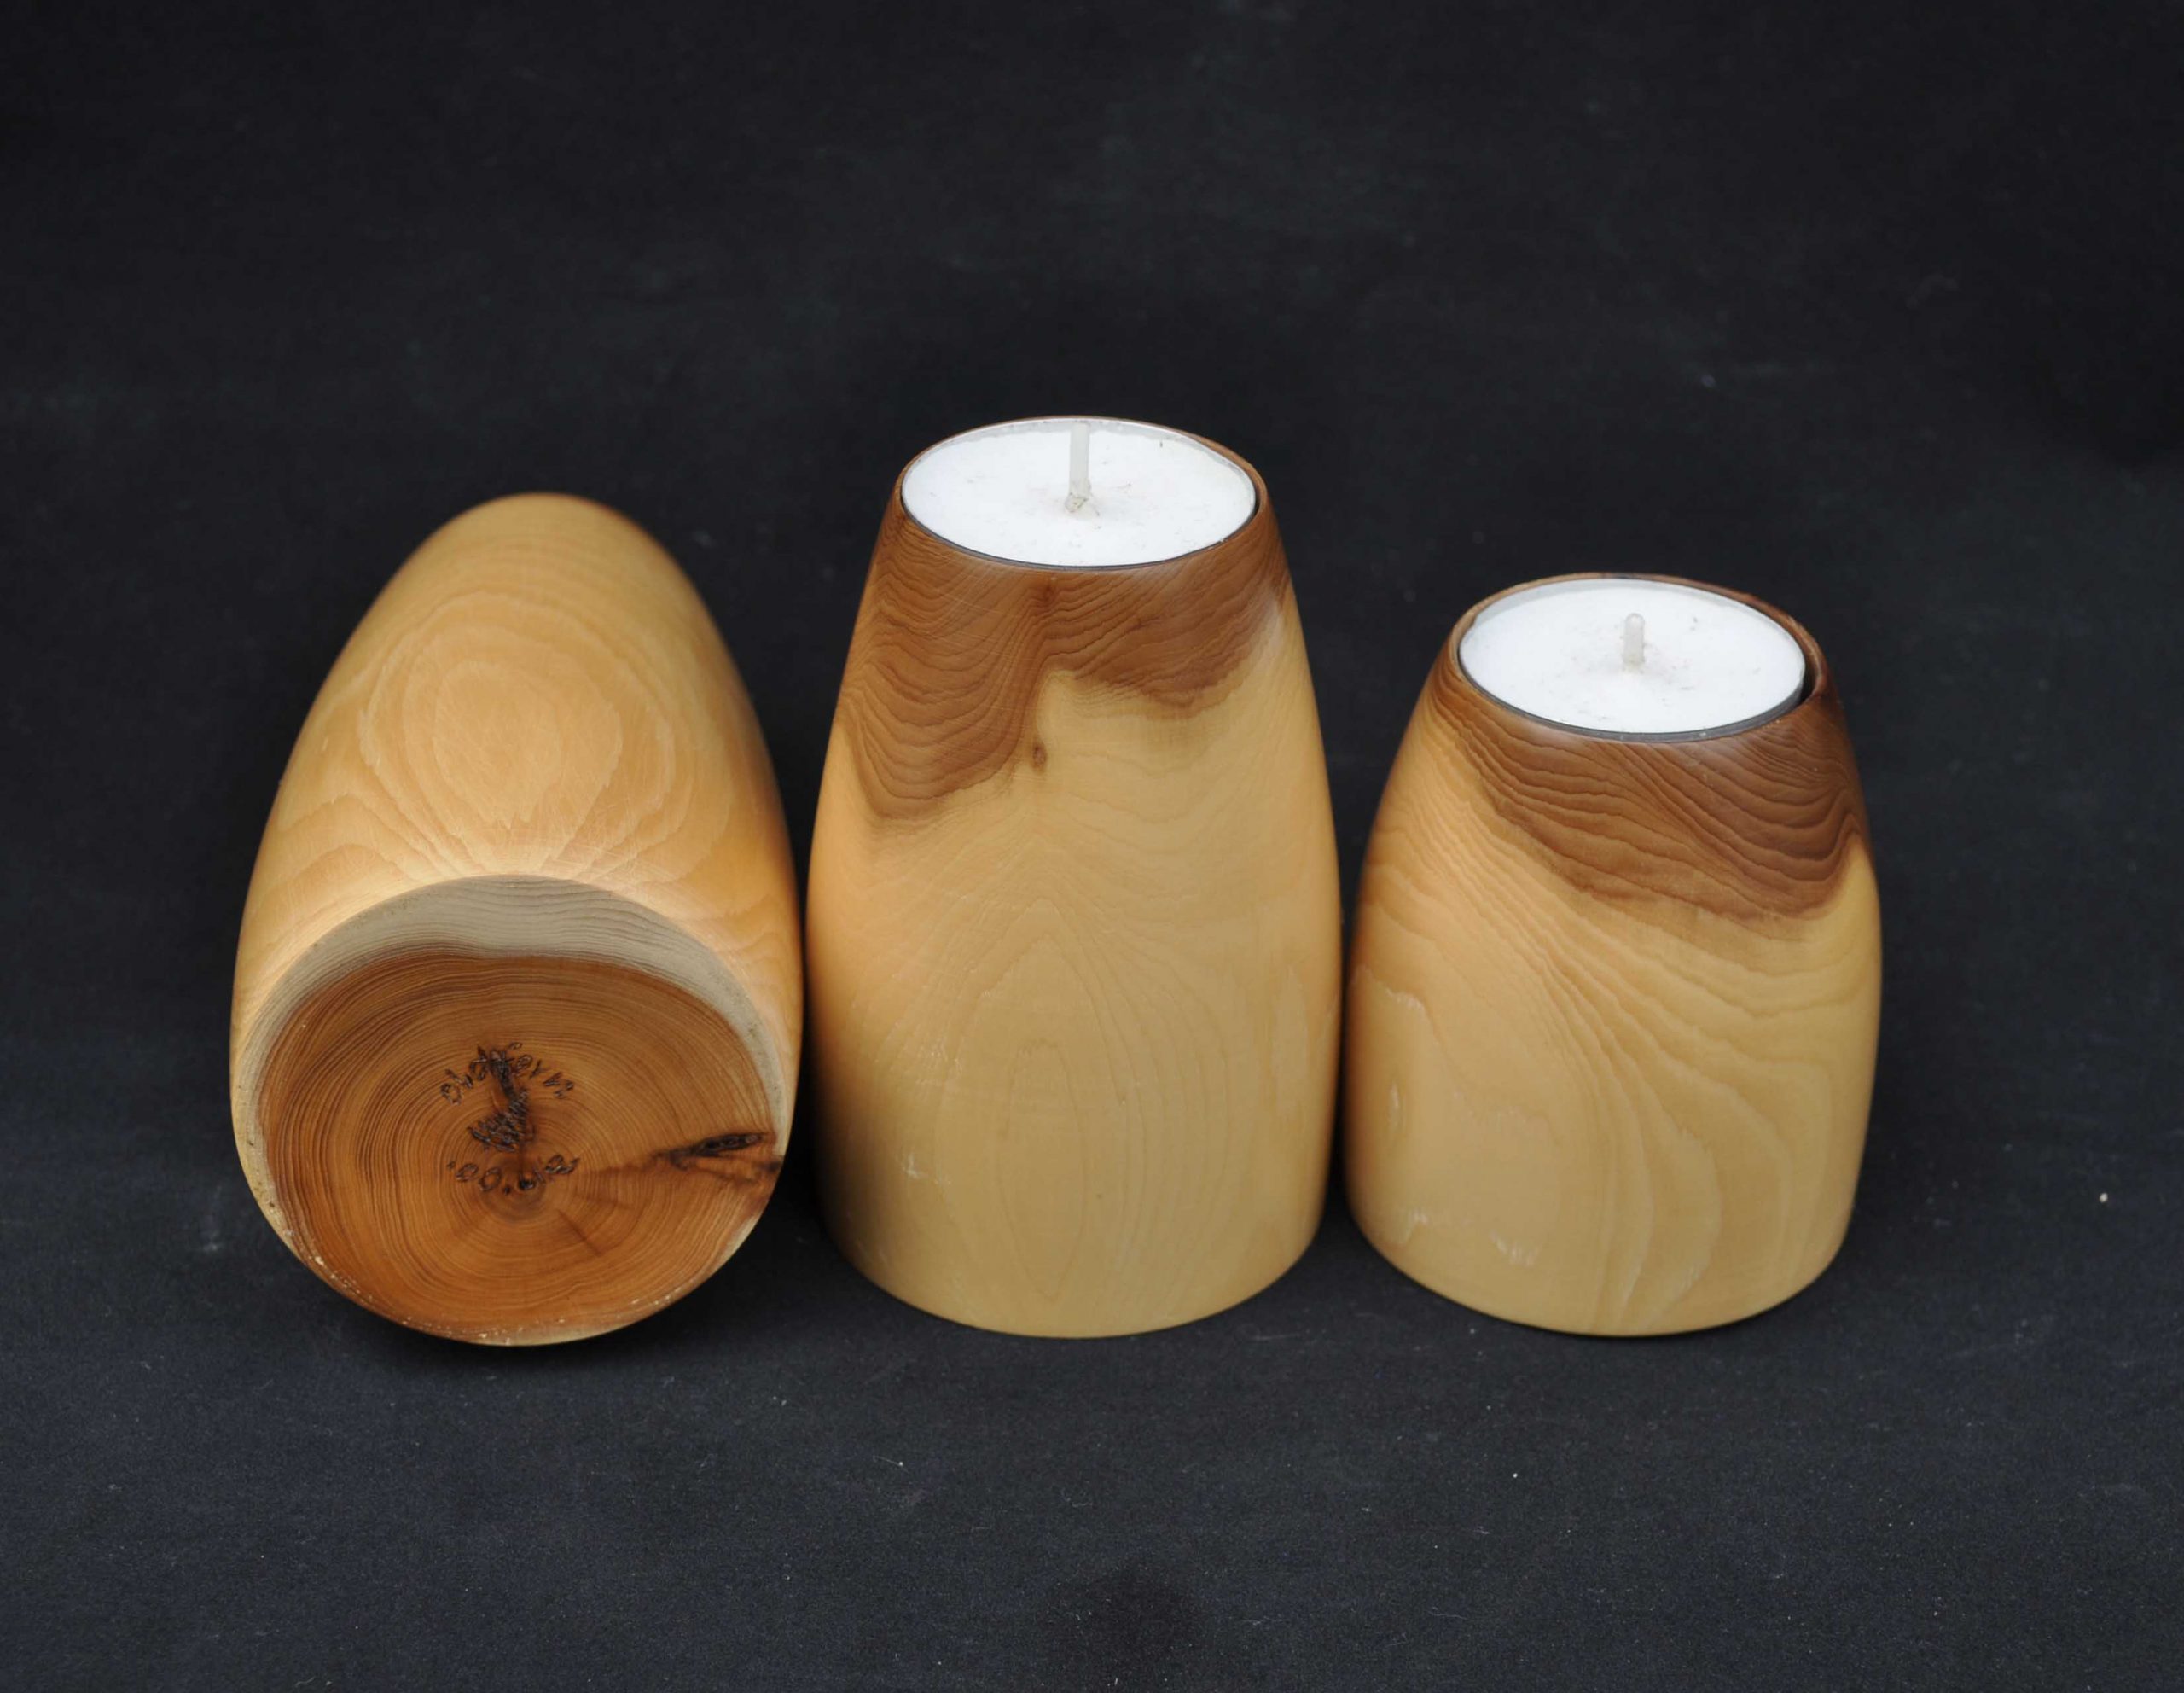
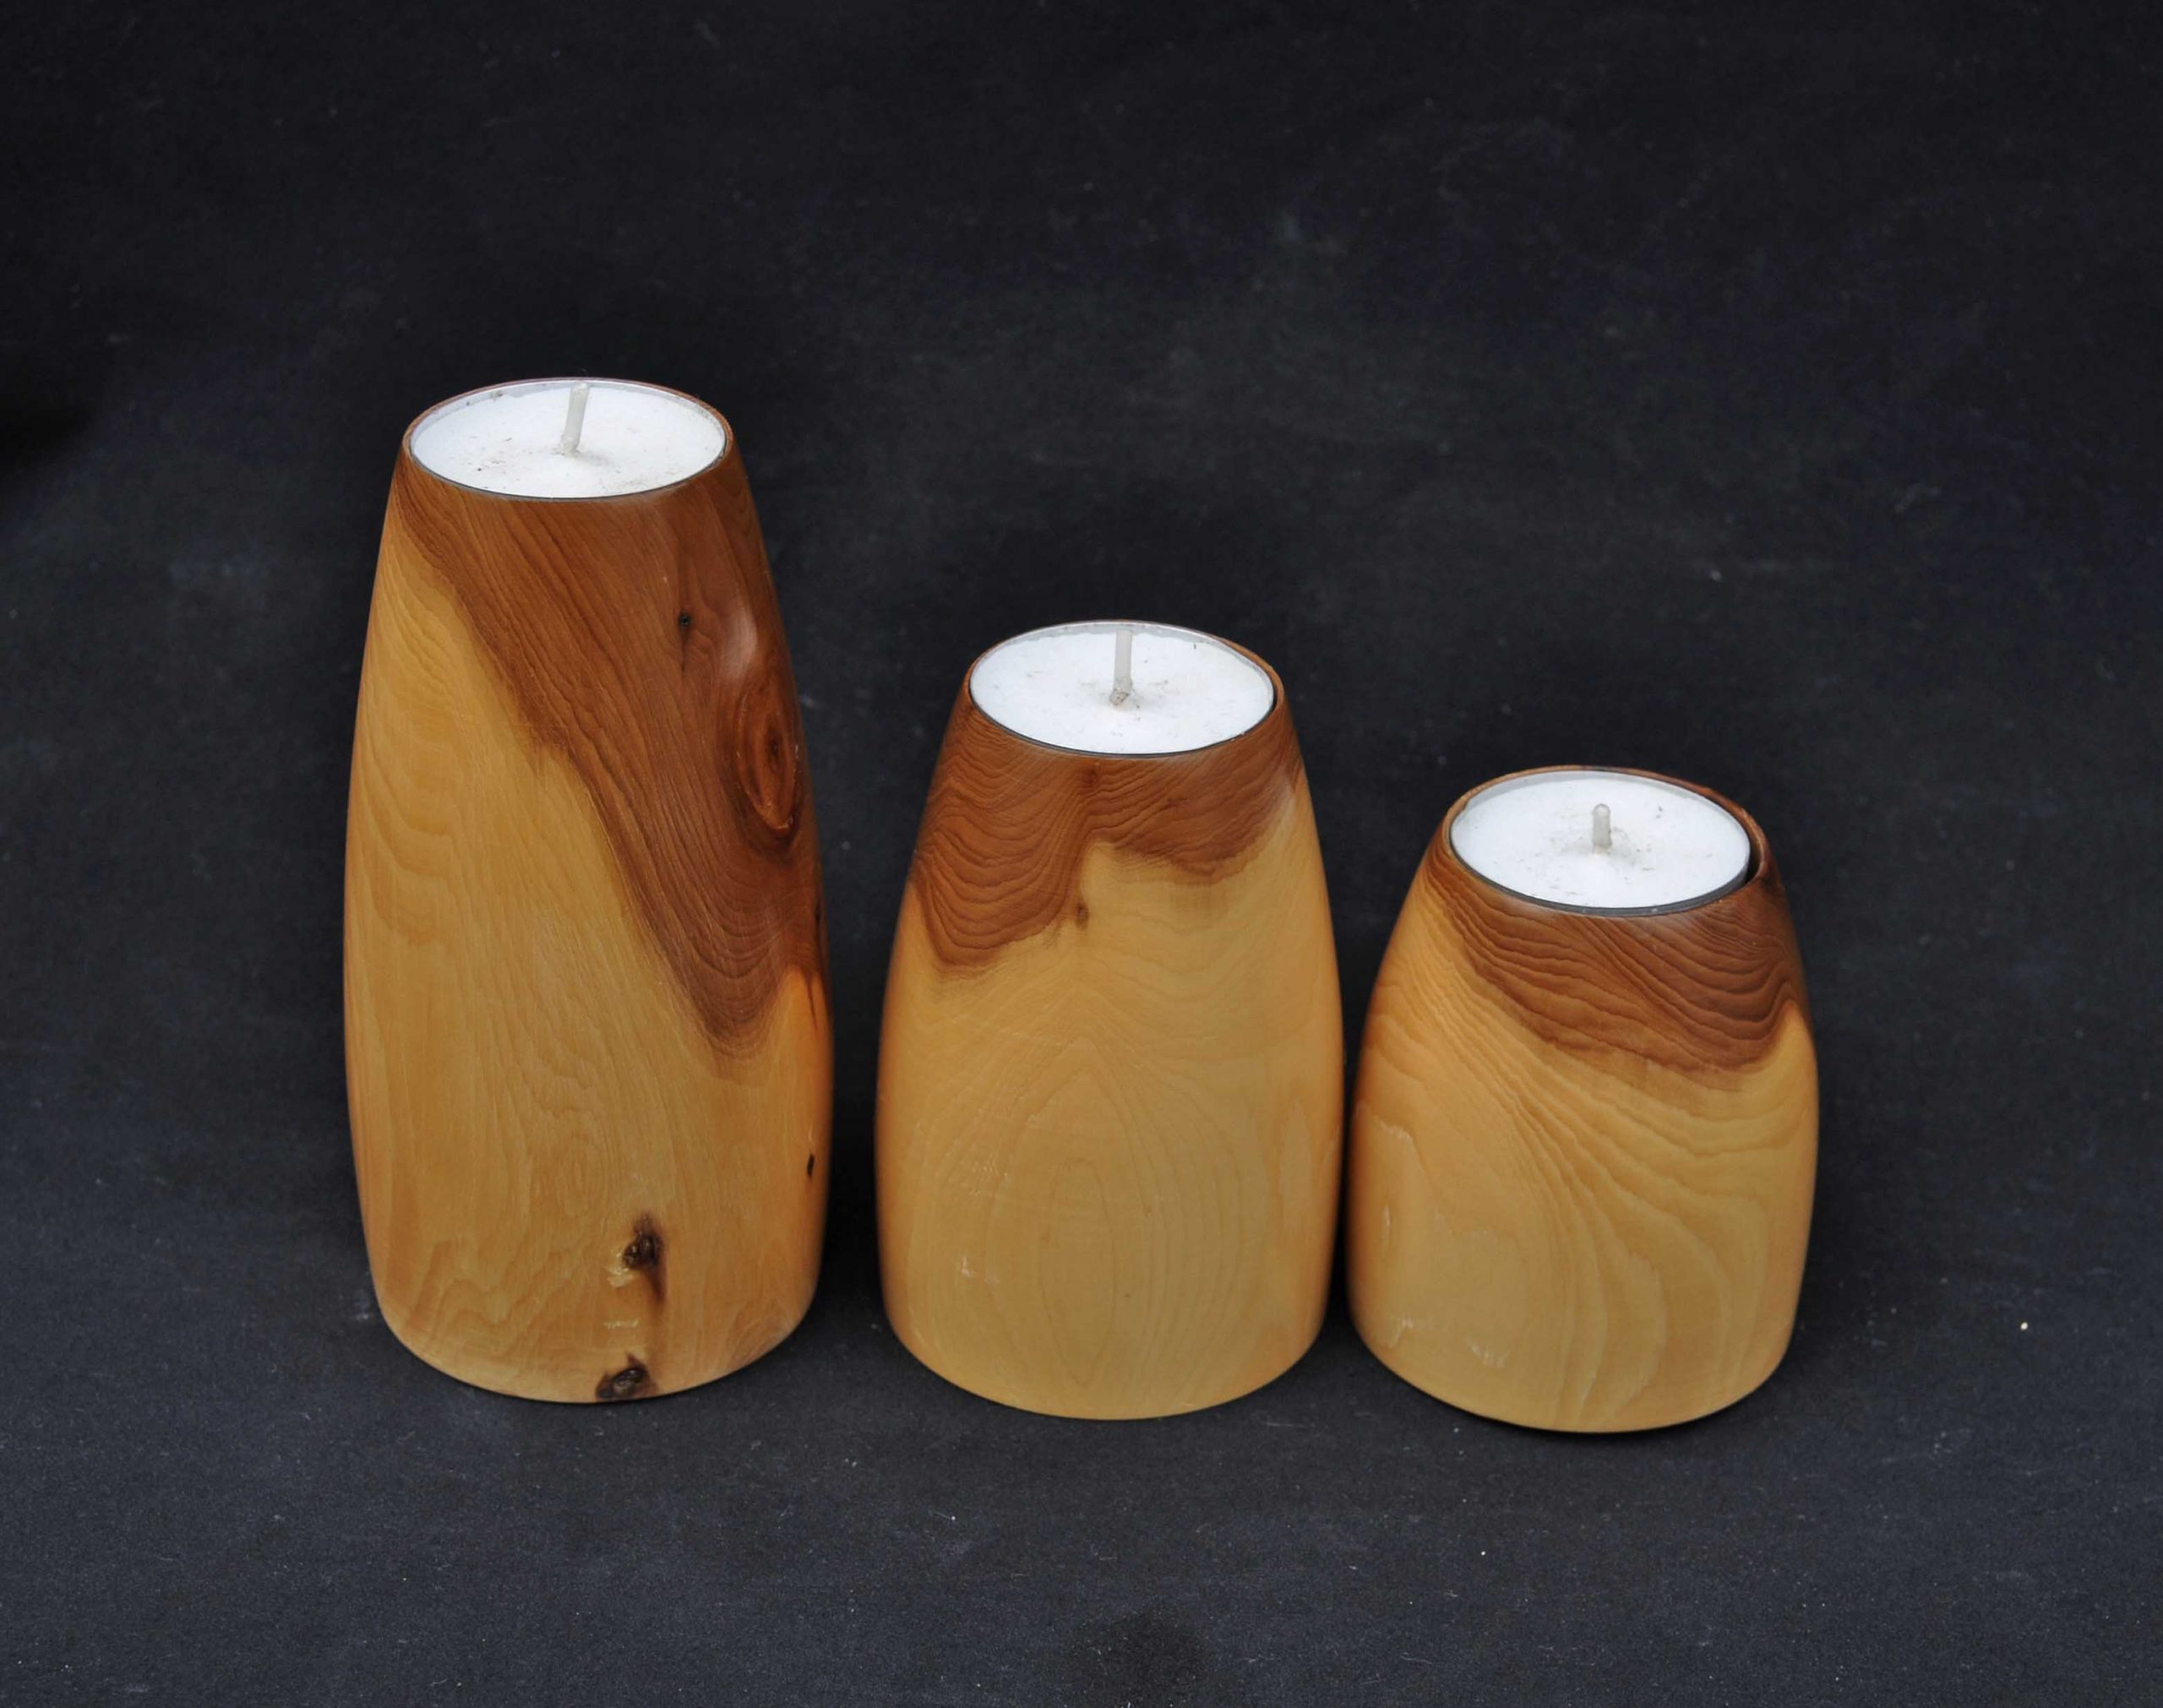
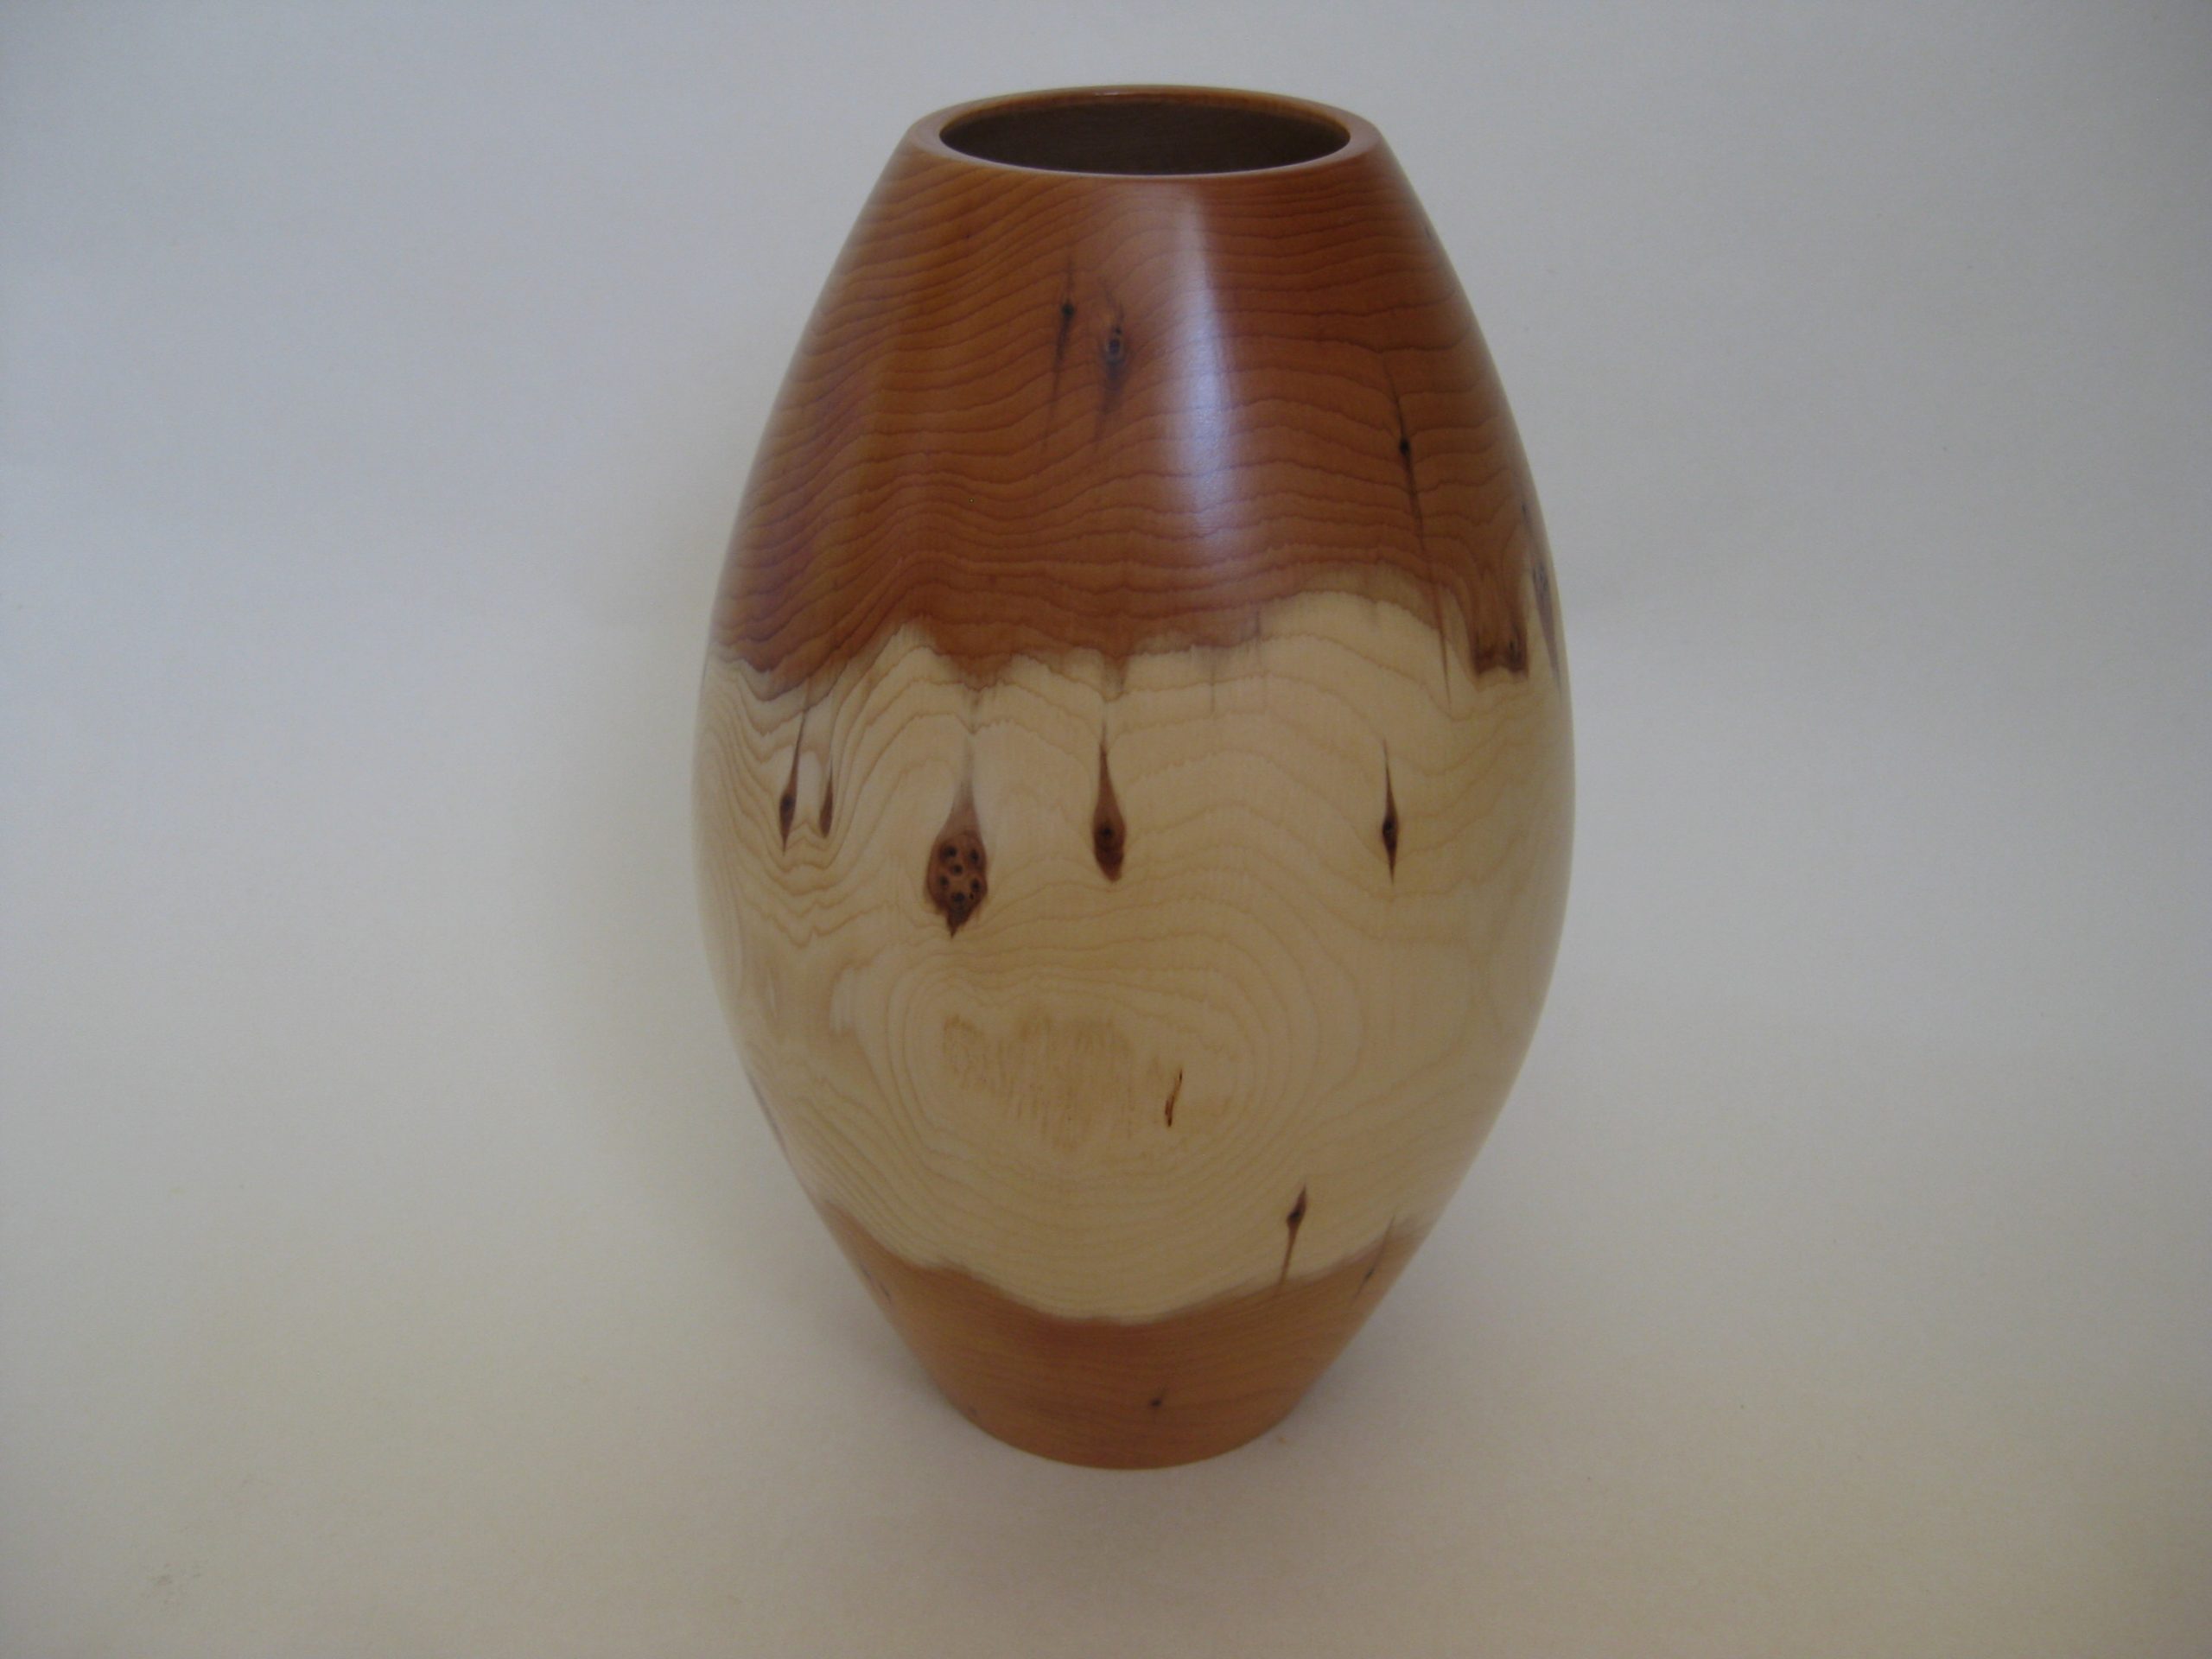
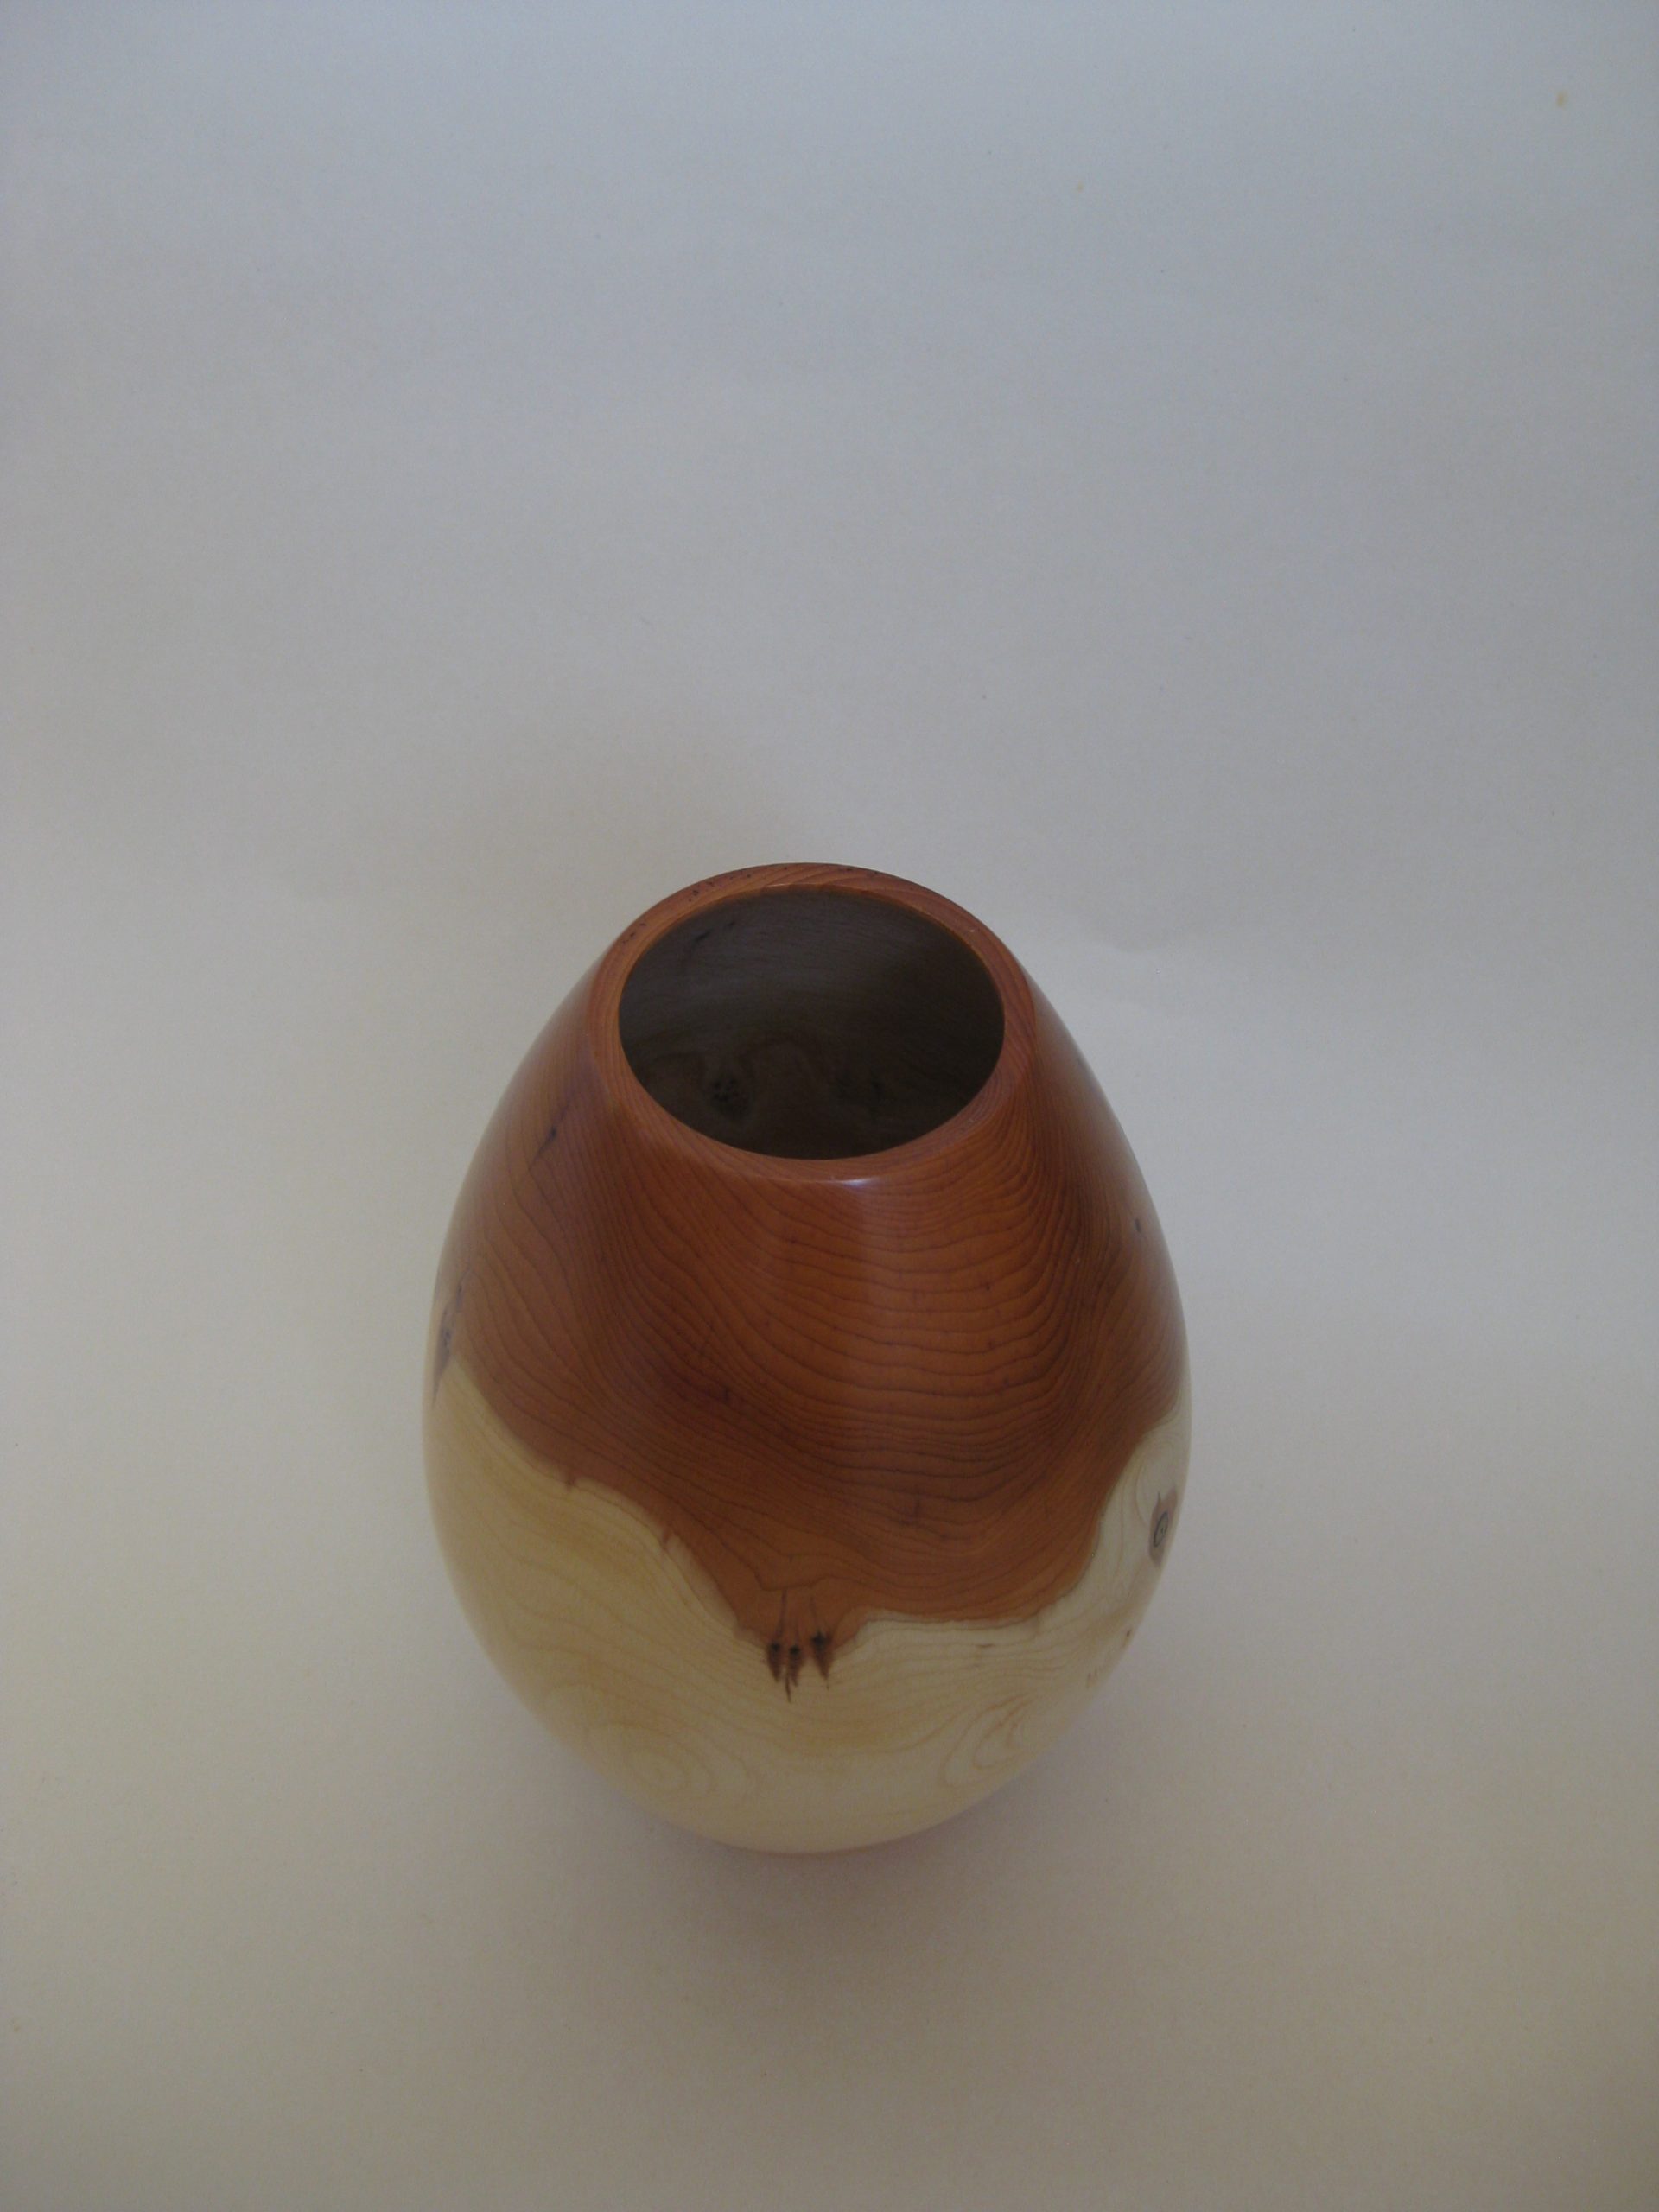
Early in the year I was very generously given a couple of yew logs from a friend’s woodpile. The wood was very recently felled so I decided to try and turn one of them straight away and leave the other to dry for a while. The size of the log that I chose lended itself to a simple vase shape with the middle of the vase being the greater diameter. As the pith of the log was fairly central I was hoping to be able to get the pale sapwood right around the diameter.
I started by turning the log to round centred on the pith and turned a tenon on one end. Once the piece was in the chuck I started to shape the outside with my usual 3/8” bowl gouge. At this stage I found the wood to be very wet so once the outside was shaped satisfactorily I drilled out the centre of the piece and continued to hollow it out with various tools. Once this was finished I sanded the piece inside and out. While the piece was now fairly dry I decided to leave it for a time before final finishing. Of course a couple of small cracks appeared so these had to be filled and sanded back. (CA and yew dust). The vase was then finished outside and in with two coats of Chestnut hard wax oil. You can see the result in the photos. The final dimensions are 130mm diameter and 206mm height.
I have turned a lot of yew during my woodturning journey without ever feeling any effects although none of it has possibly been as wet as this piece was. So it was a bit concerning the day after I turned the piece that I felt a bit queasy and generally not well. Was it coincidence or was it perhaps the toxins in the yew having an effect? I don’t know. I have met a few people who have had side effects after turning yew so it may have been. I always wear respiratory protection but in this case it is possible that the excessive moisture in the yew either affected exposed skin or minute droplets penetrated the respiratory filters. Fortunately I recovered quickly after a day or so but the other piece of yew is still drying!
A recent article in the Woodturning magazine by Andy Coates (issue 354) highlighted the risks of using green yew. One pertinent fact was that the taxines (the poison!) are in highest concentrations during winter which is when the tree where my logs came from was felled. The long and the short of it all is that I will not stop turning yew but I will take more care with my PPE and not just while turning, you have to clear up aswell!